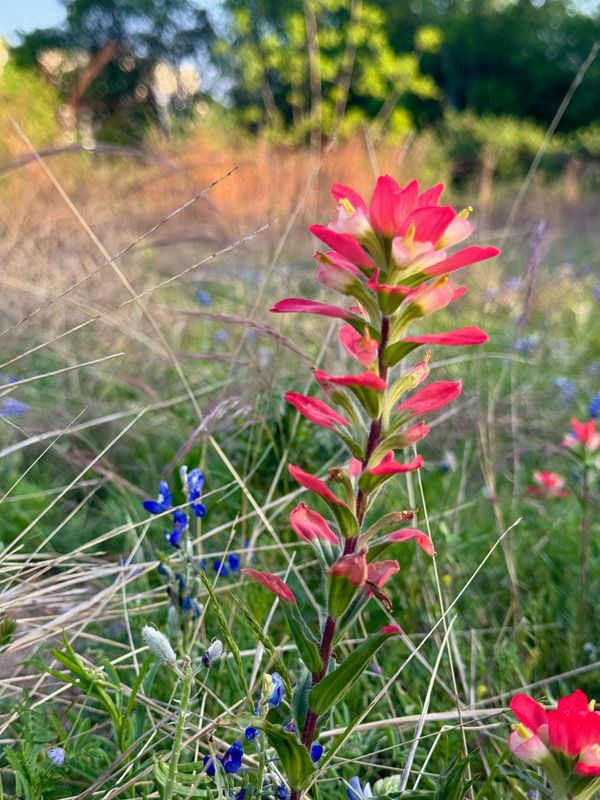
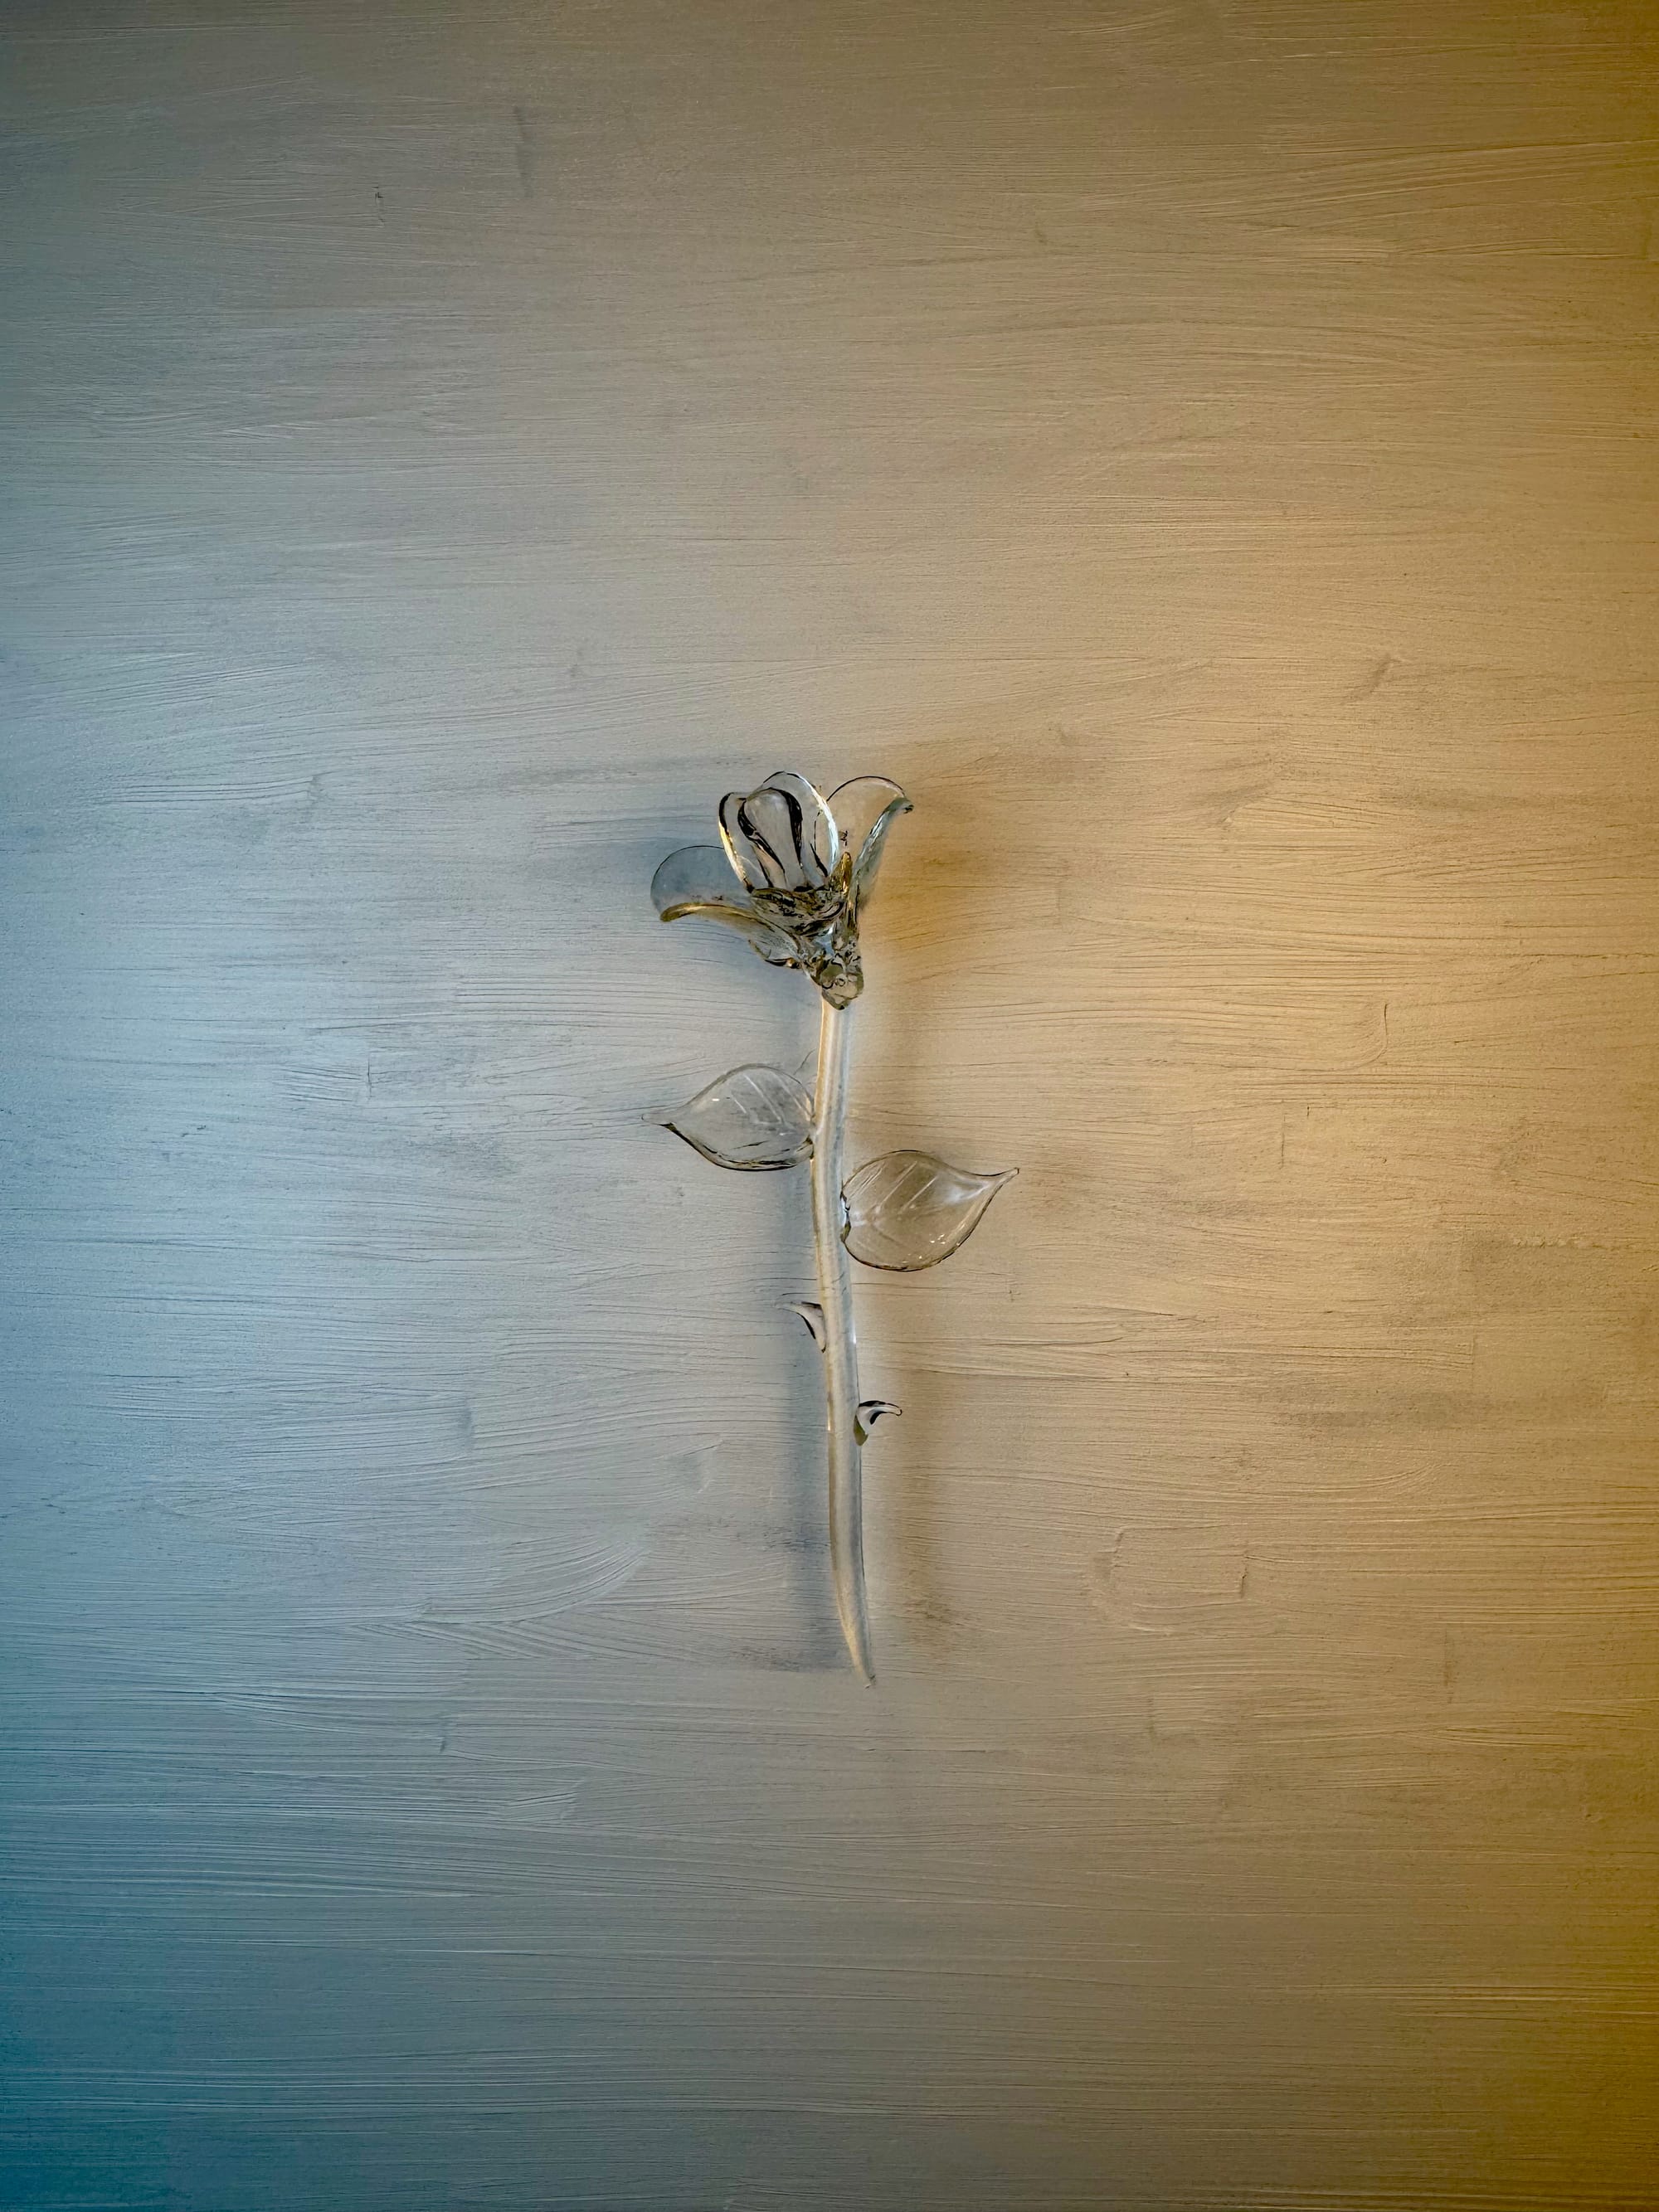
Does a rose get its color if the gardener is blind?
You may accuse the title of this essay to be a rehash of the age old question "If a tree falls in the forest and no one is there to hear it, does it make a sound?"
But I like my version better. Not only is it shorter (brevity is the soul of wit) but who cares if the universe loses the sound of a tree falling? A rose without color though, well now something is at stake. Something of beauty might be lost.
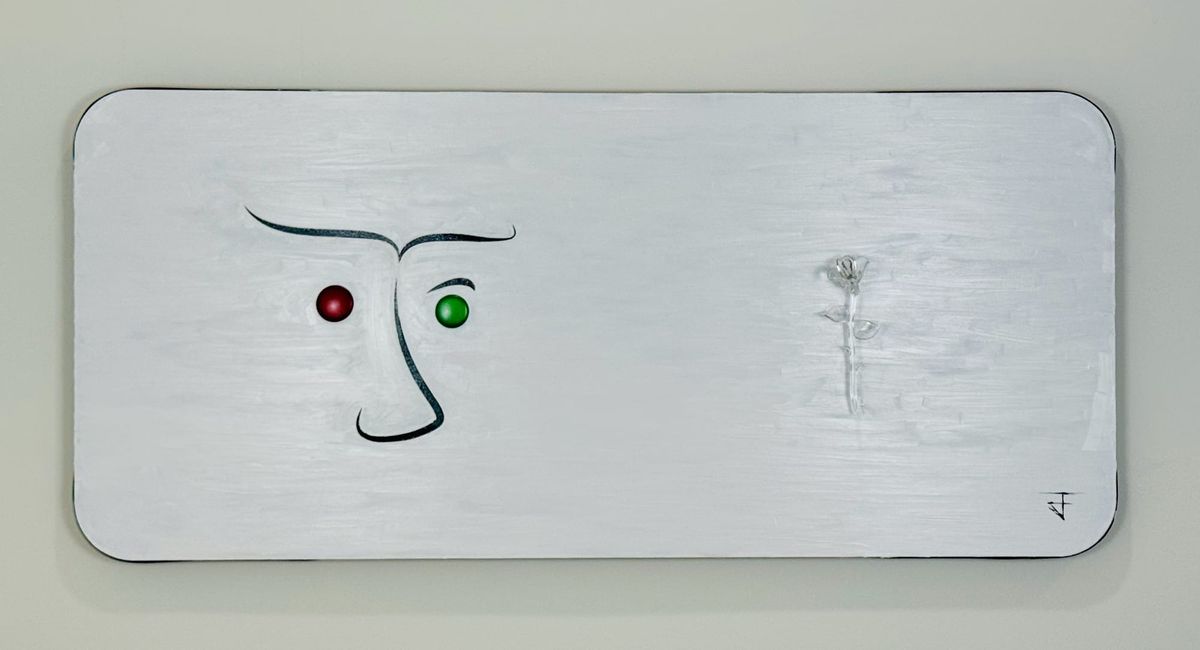
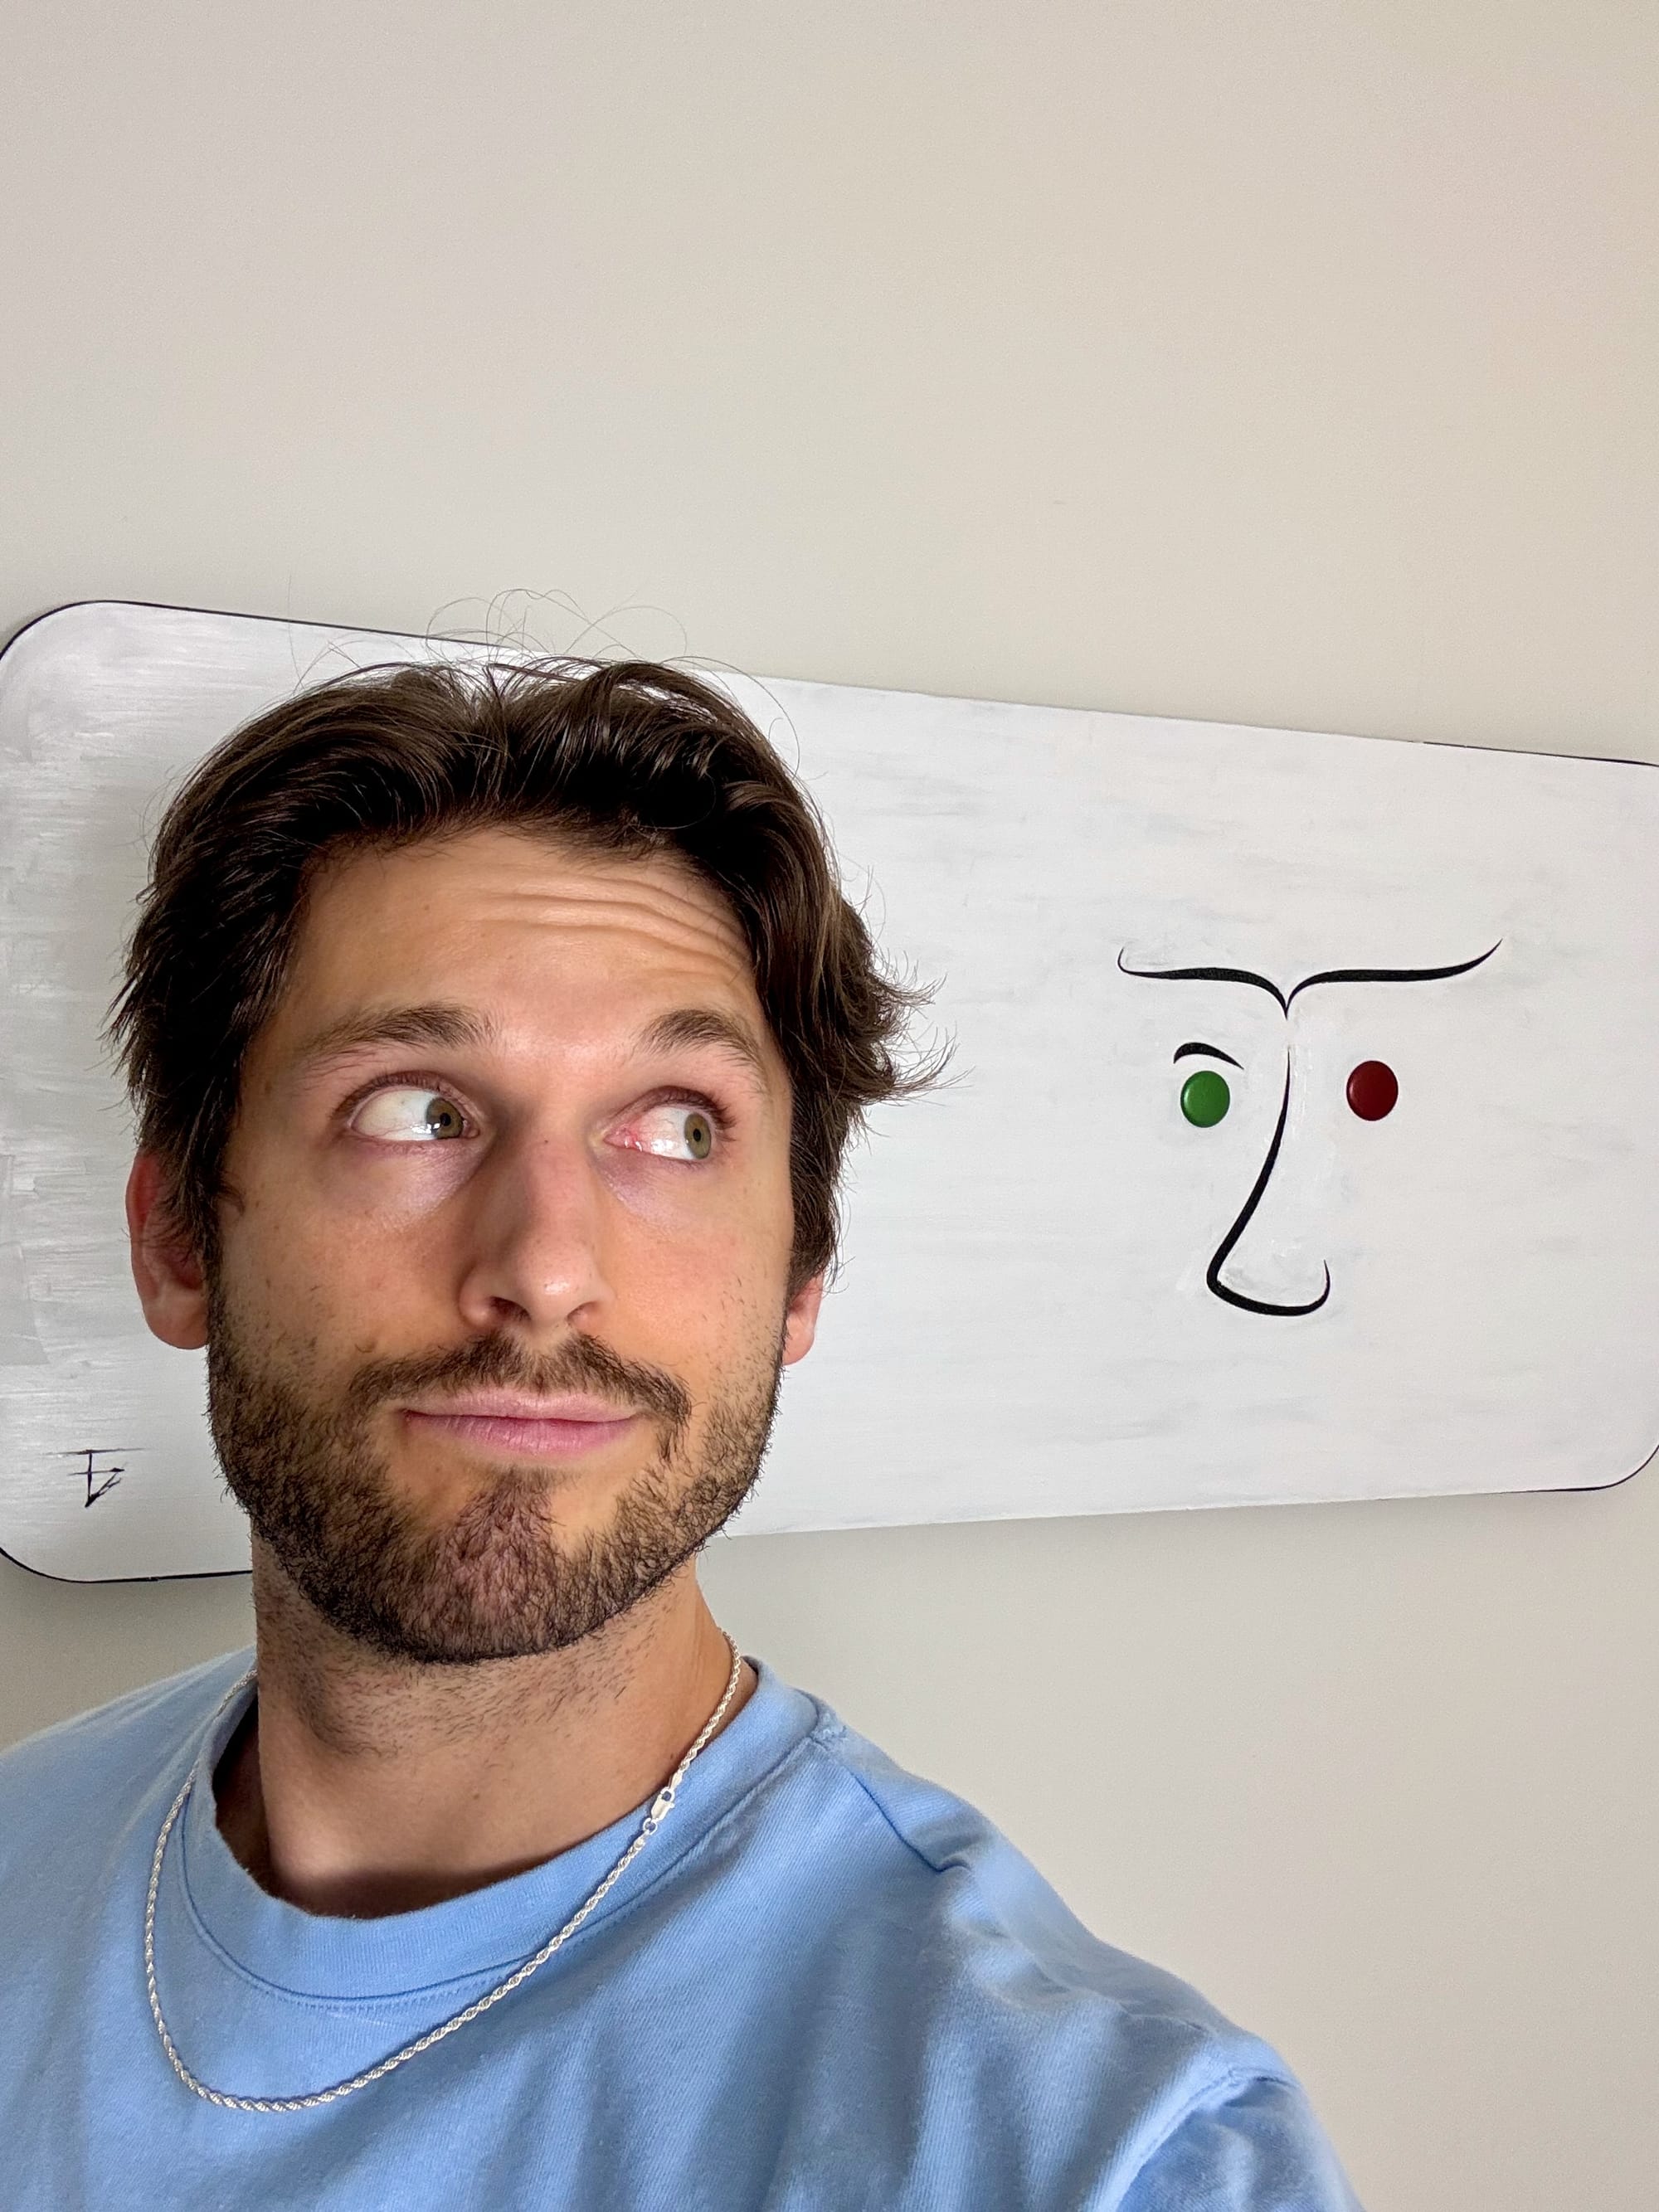
If you look at my piece, I'm sure you'll see how I would answer this question. But let's get pedantic with it.
Does it count if a bee sees the rose?
I propose that a bee's mind may not produce a color the way we think of color. They may perceive wavelengths of light merely as a wiggling of the space. Or they may perceive the light as flashing bits, where a red is merely how fast it flashes in and out of view. It may not be likely, but it's surely possible and there's no way to know. Scientific experiments have yet to breach that inner world of conscious experience.
I propose that we only know for sure of one animal that sees colors.
And in that sense, only one person you know for sure that sees them the way you do.
Because the world does not give its colors to you. You give the world its color.
This post is broken into 3 parts. The Why, The What, and The How.
The Why
What's the point?
Ok, so you give the world its color. Who cares? It's not like you can do anything about it. You can't change the way you see the world.
Or can you?
Just like our perception of color, our perception of more abstract things like morality, beauty and goodness aren't merely interpretations of the world, but its creation. The man who sees a failure and the man who sees a lesson are both right. The man who sees war and the man who sees art may be looking at the same thing. The man who fears death and the man who embraces it shoulder the same burden.
So although you can't change the colors of the rose you can still change its appearance. It can be beautiful and delicate. Or it can be thorny and dangerous. Or it can even be in your peripheral, completely ignored and absent from awareness.
I never know the real reason I make a piece of art until afterwards. When I started this piece I was sure it was about this idea of creating the world by perceiving it. The ultimate illusion of perception is how consciousness can breathe life back into the world that created it.
In other words, if you look close enough you'll change what you see.
But when I finished this piece, I felt a different meaning had attached itself to the work. Something much more emotionally complex than musings on the nature of color and reality. Something that seemed to get further away from me the more I tried to understand it within the logical framework of words.
It's akin to trying to explain the color of a rose to the blind gardener. A scientist in that situation may start by explaining its specific wavelength, the energy profile of light, and maybe even the biological makeup of rods and cones. At the end of it all, I'm sure the blind person would be no closer to understanding the color of red.
A poet though may only need to say that the red is passion incarnate. Despite this having nothing to do with color, the blind person would have much better idea of what's going on. Poetry can communicate the things science can only define.
That's why, now that I've finished, I'll need poetry to explain why I was called to make it.
Memories
A love story told twice
when recorded
and etched in light
is puffy and pure
a blue behind white
A love story told twice
when wrote forward
and inked at night
is sterile like smoke
a black burnt to white
A love story told twice
turns the pure air
into colored ice
because at the center of the storm
is a prism of light
The What
The Symbolism
Mark Twain once wrote, after learning to sail the Mississippi, that "All the grace, the beauty, the poetry, had gone out of the majestic river!" So to avoid losing too much of the beauty in my piece, I'll just hint at some of the basic symbology. I'll share three starting points. These are bits of ideas that you can choose to explore further if you choose.
First, let's talk about form. More specifically, the space in between form. I encourage you to watch the following video. If you've never been able to stop thinking, it may just be your first experience with what peace feels like. Afterwards, see if there's any space in between form in the piece and what that might symbolize to you.
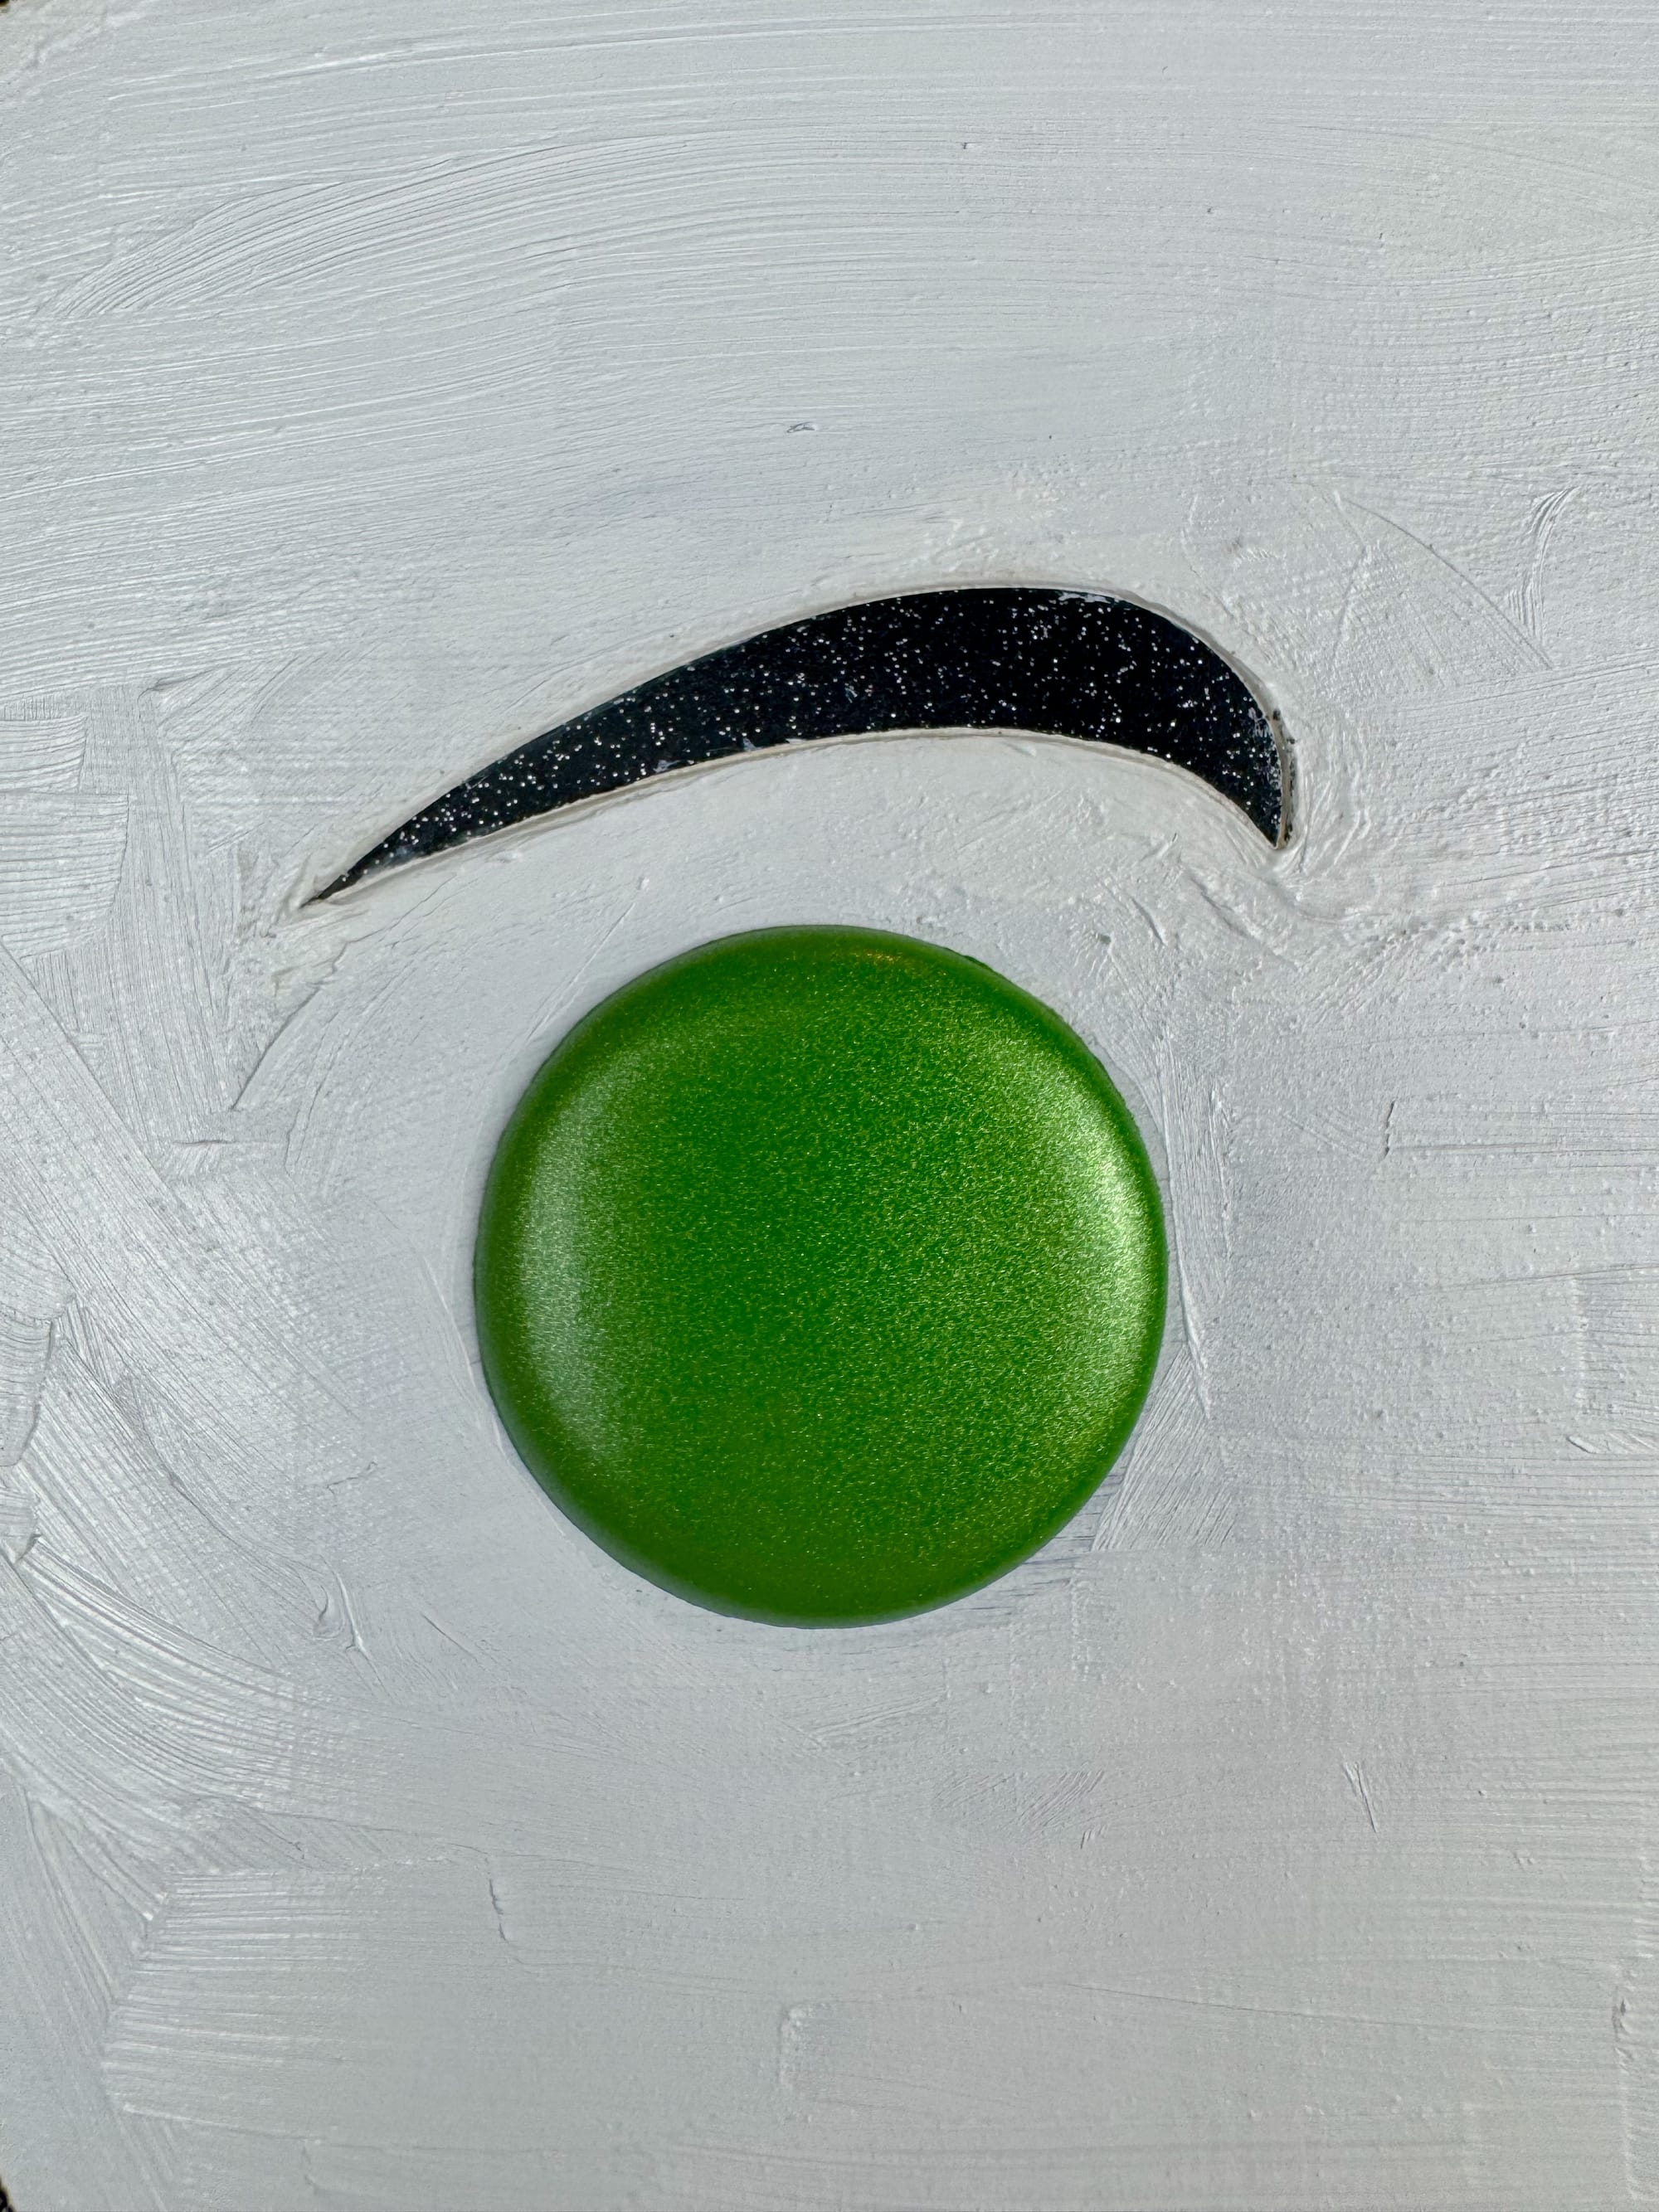
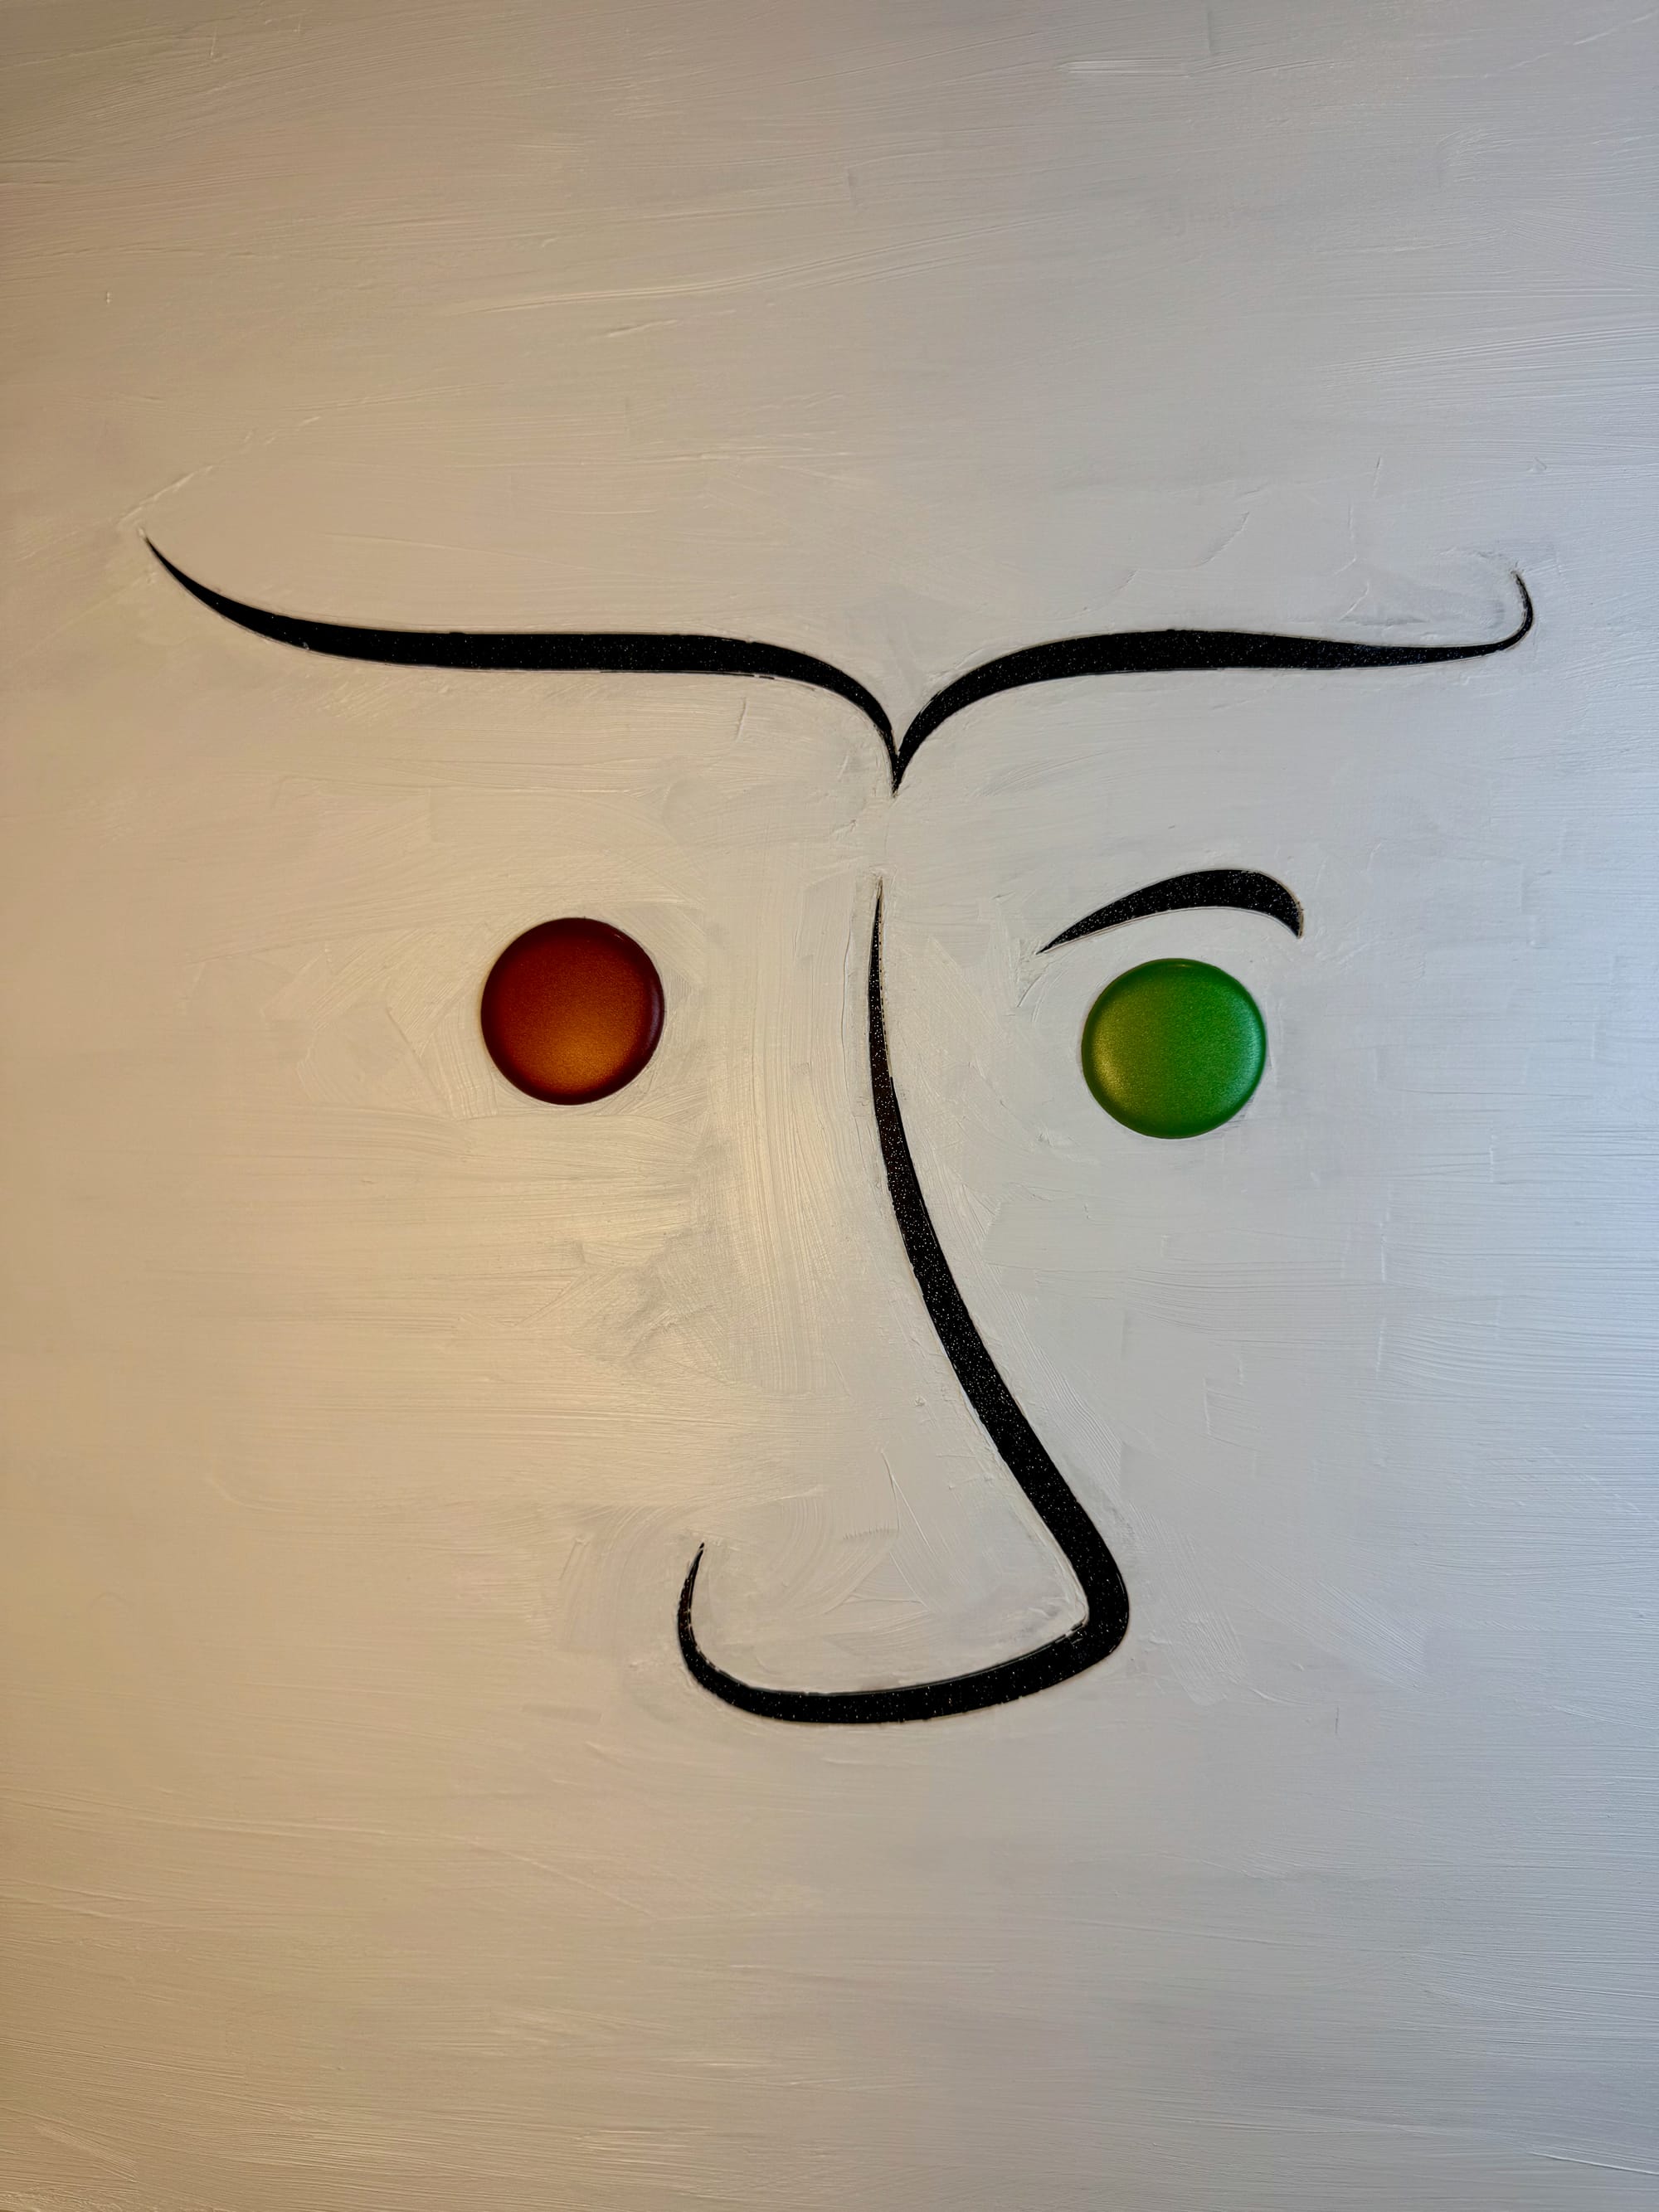
Next, let's talk about color. Why is the face the same color as the frame that hides behind the piece? Why are the eyes red and green while the rose is colorless glass? Where is it most reflective? Is there a commonality between the glitter in the black acrylic, the pearlescent in the colors, and the refraction of glass?
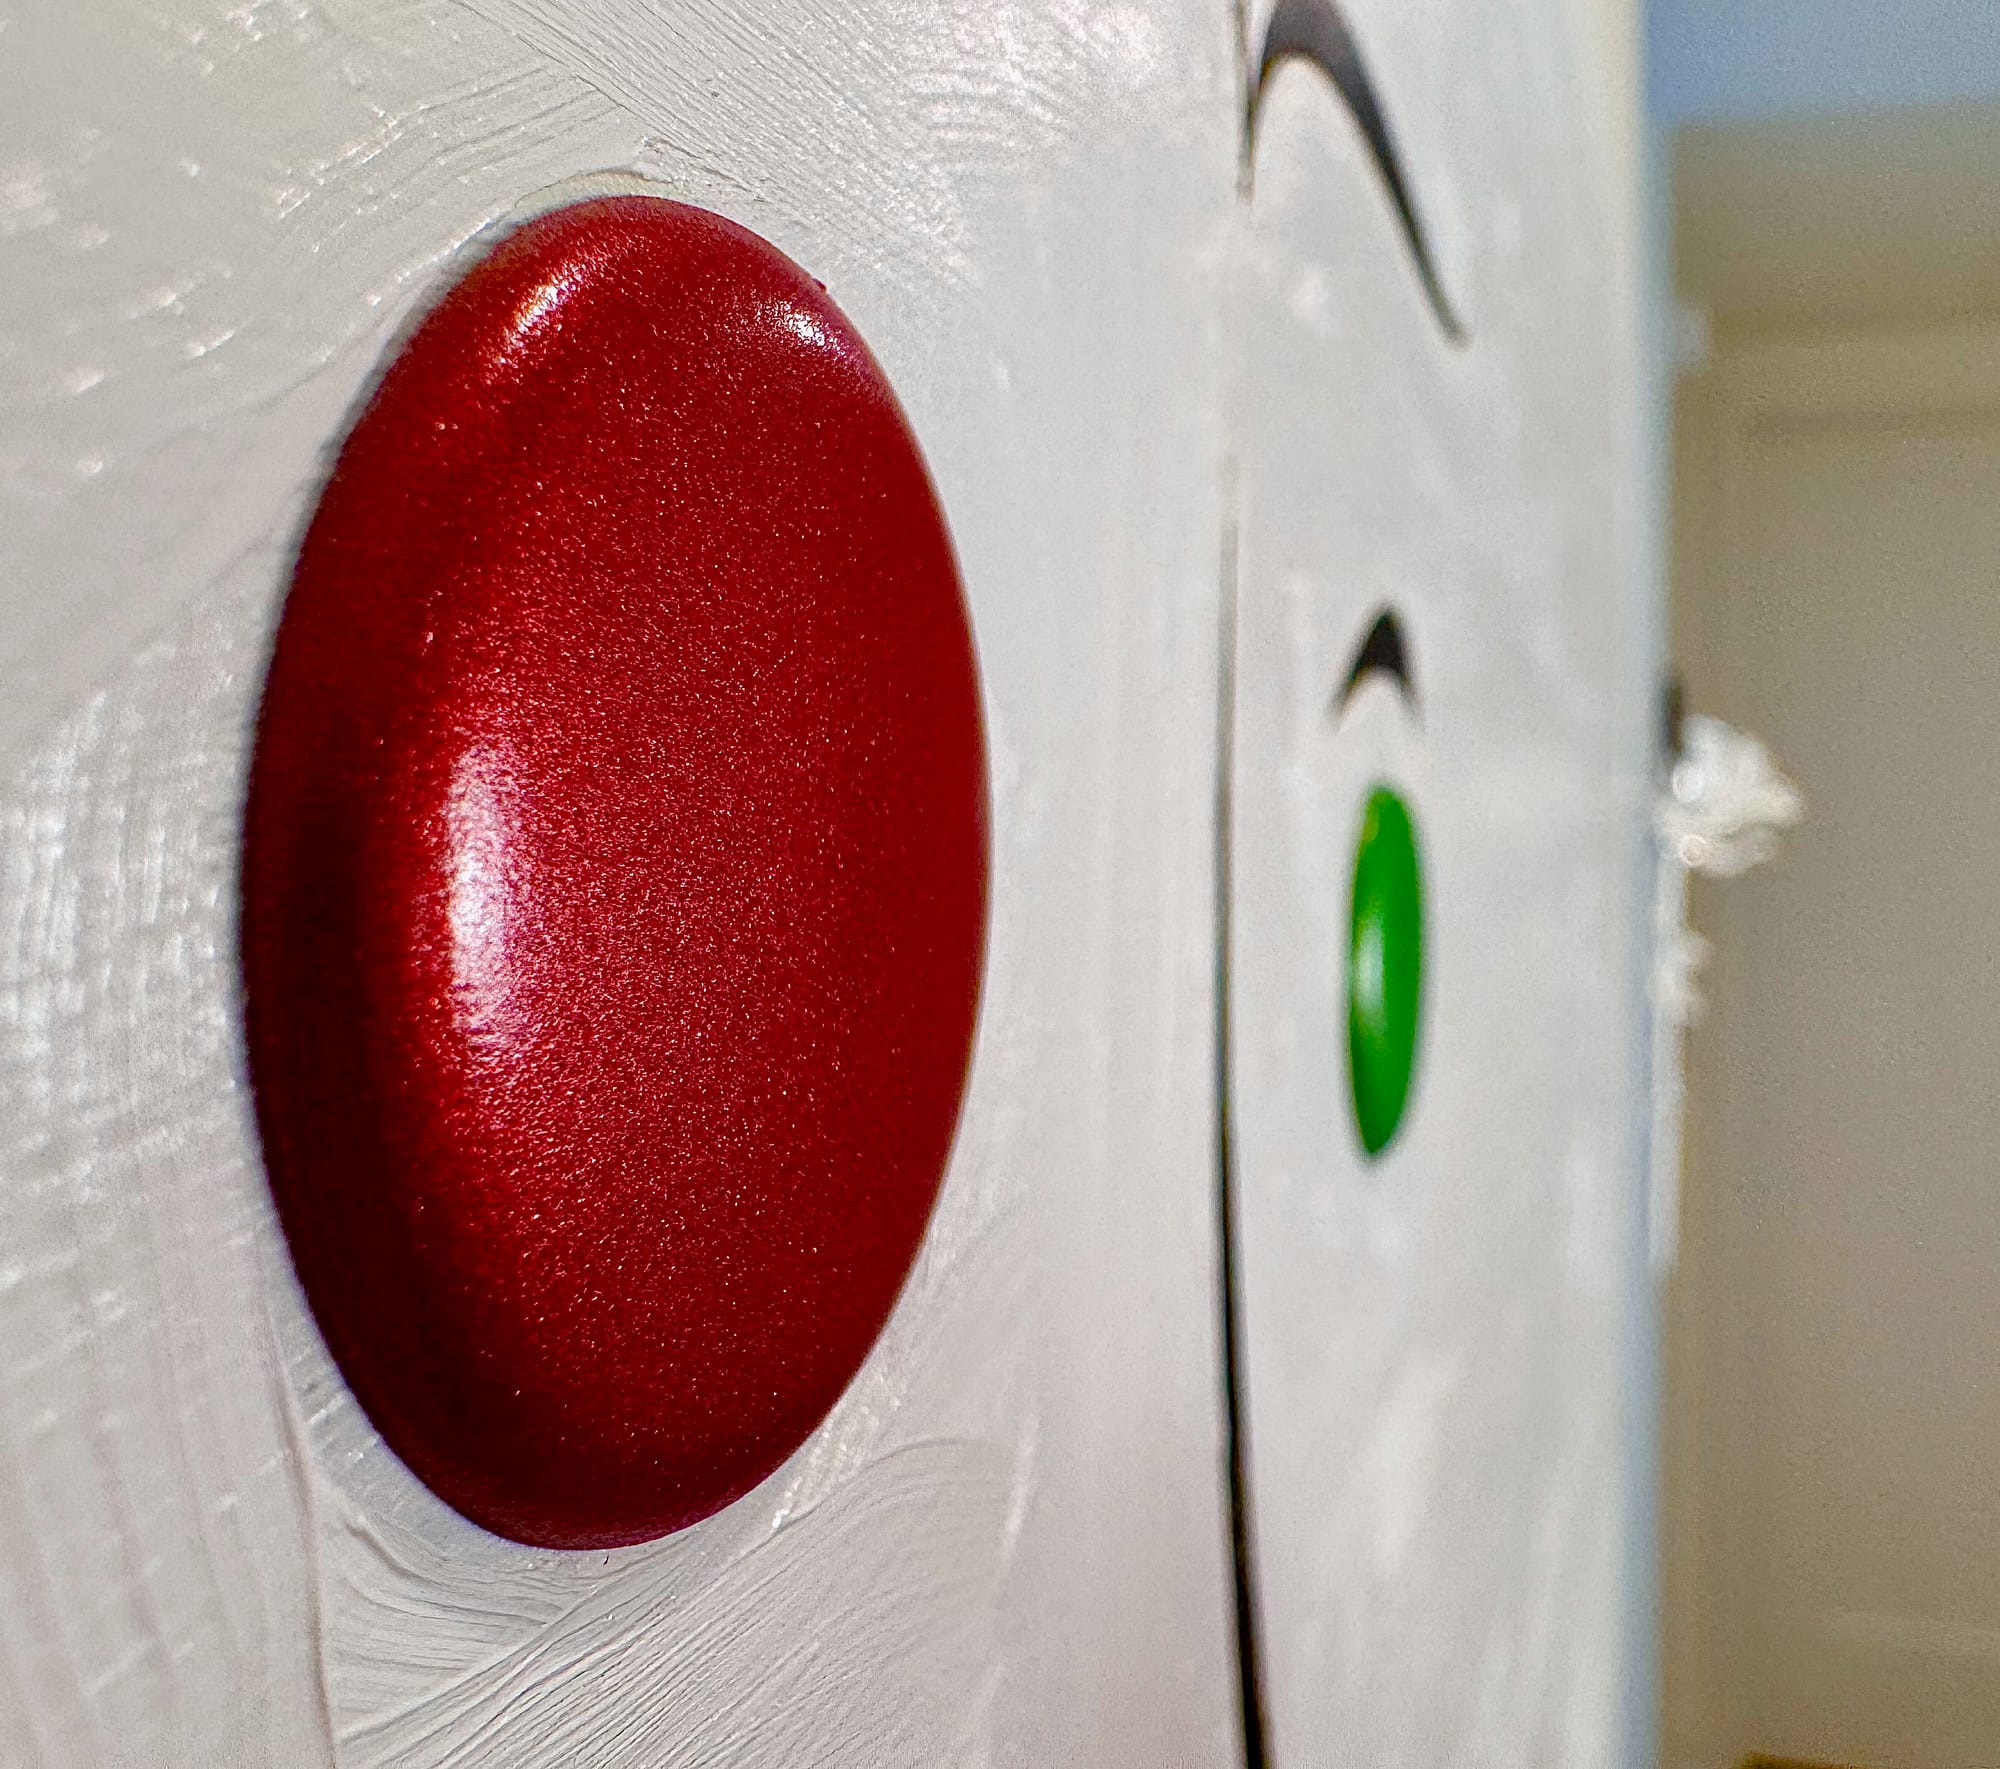
Lastly, I'd encourage you to consider the spacing of things. Why might the rose sit out the furthest? Why are the eyes in front of the face? Why are they shaped to be domed like that while the face is flush with the board?
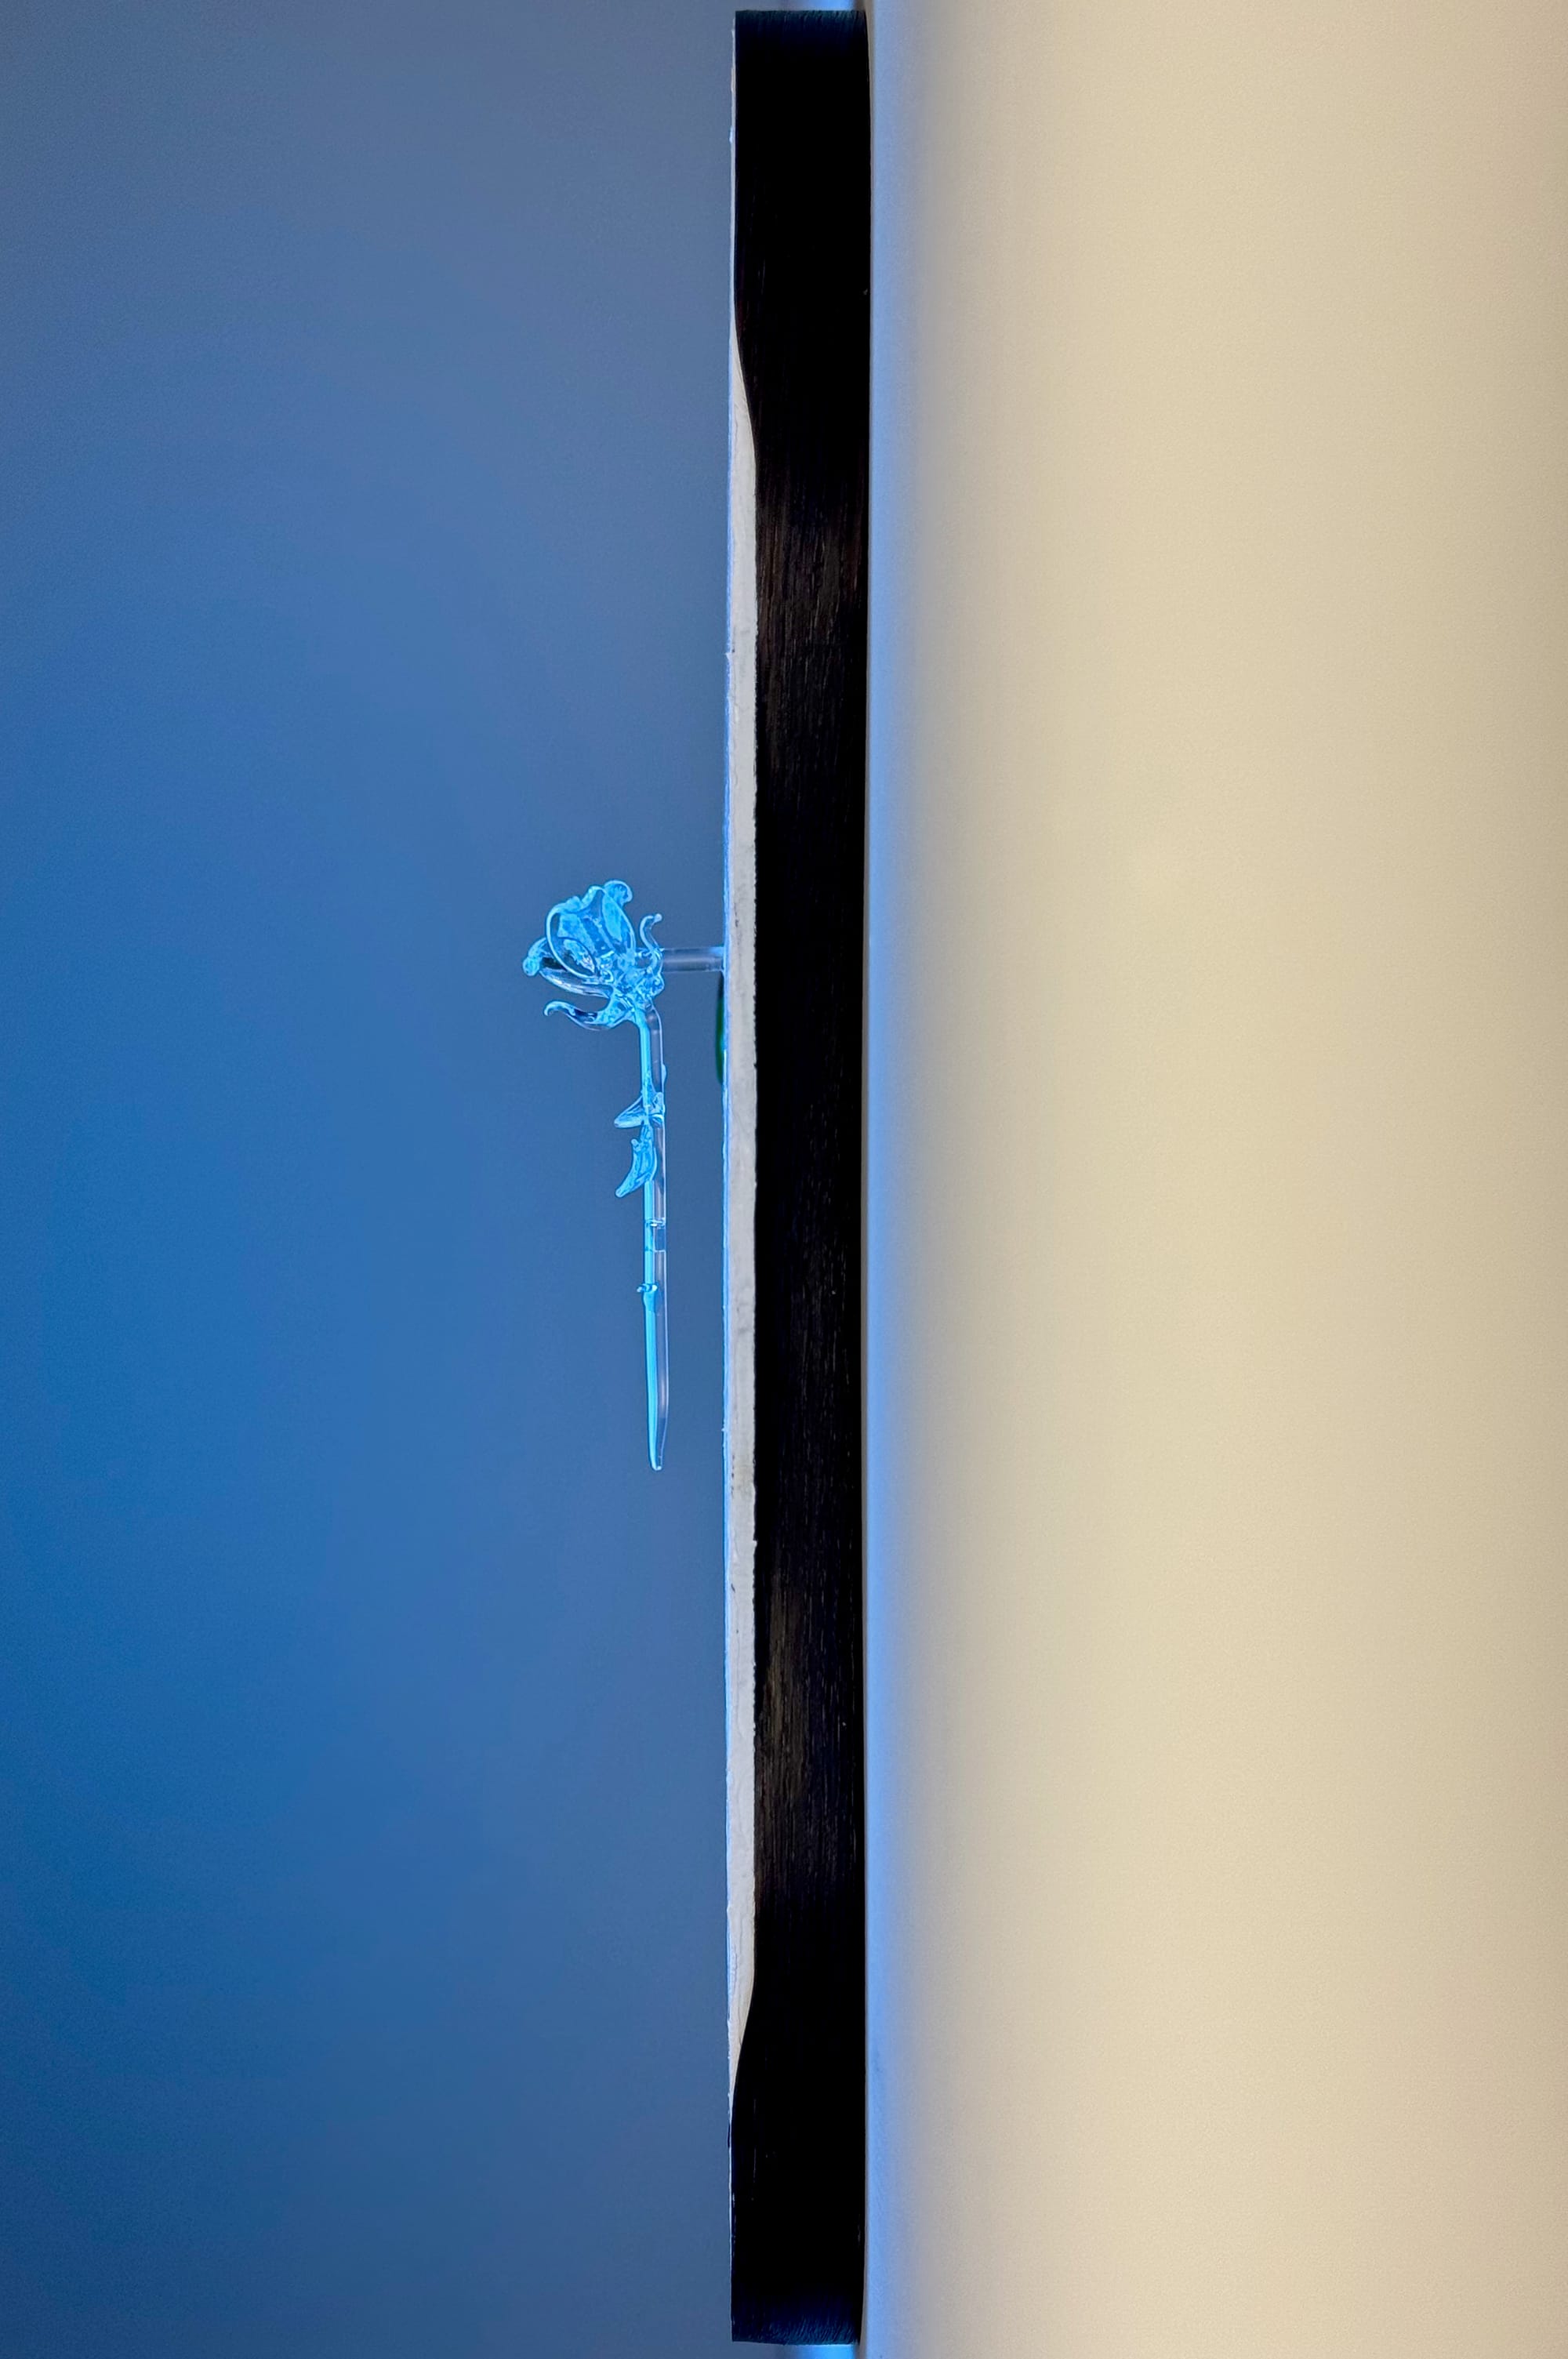
Remember, this is art, there are no wrong answers to any of these. Or even a requirement to answer them. This section is just to give you an opportunity to get closer to the meaning behind the work. Ultimately art is experienced best however you enjoy it.
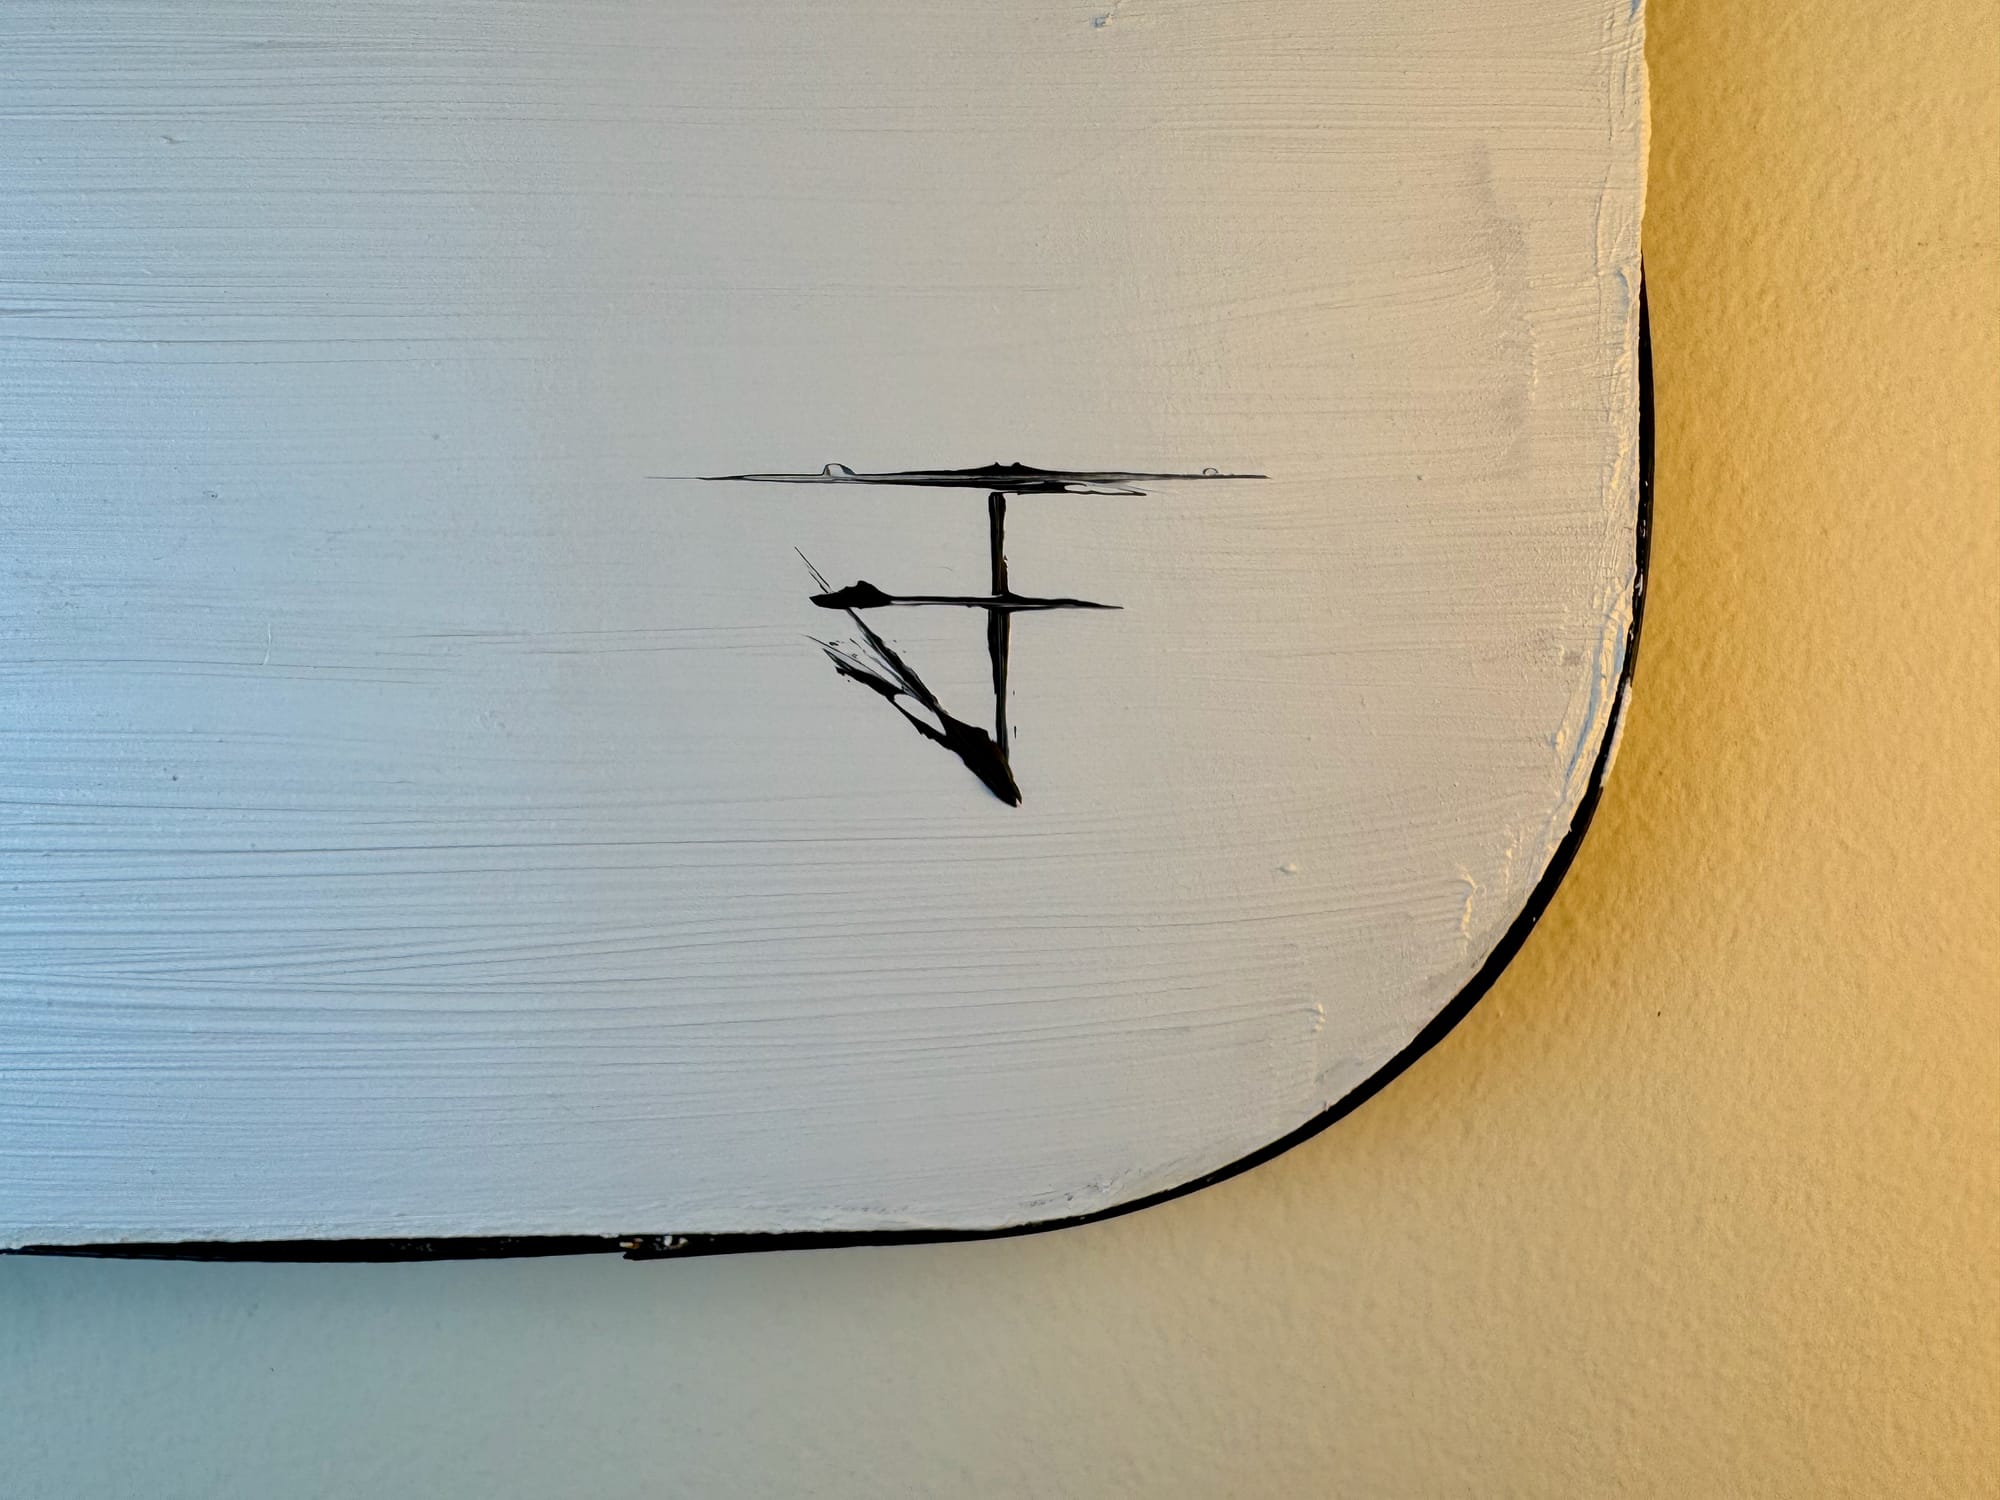
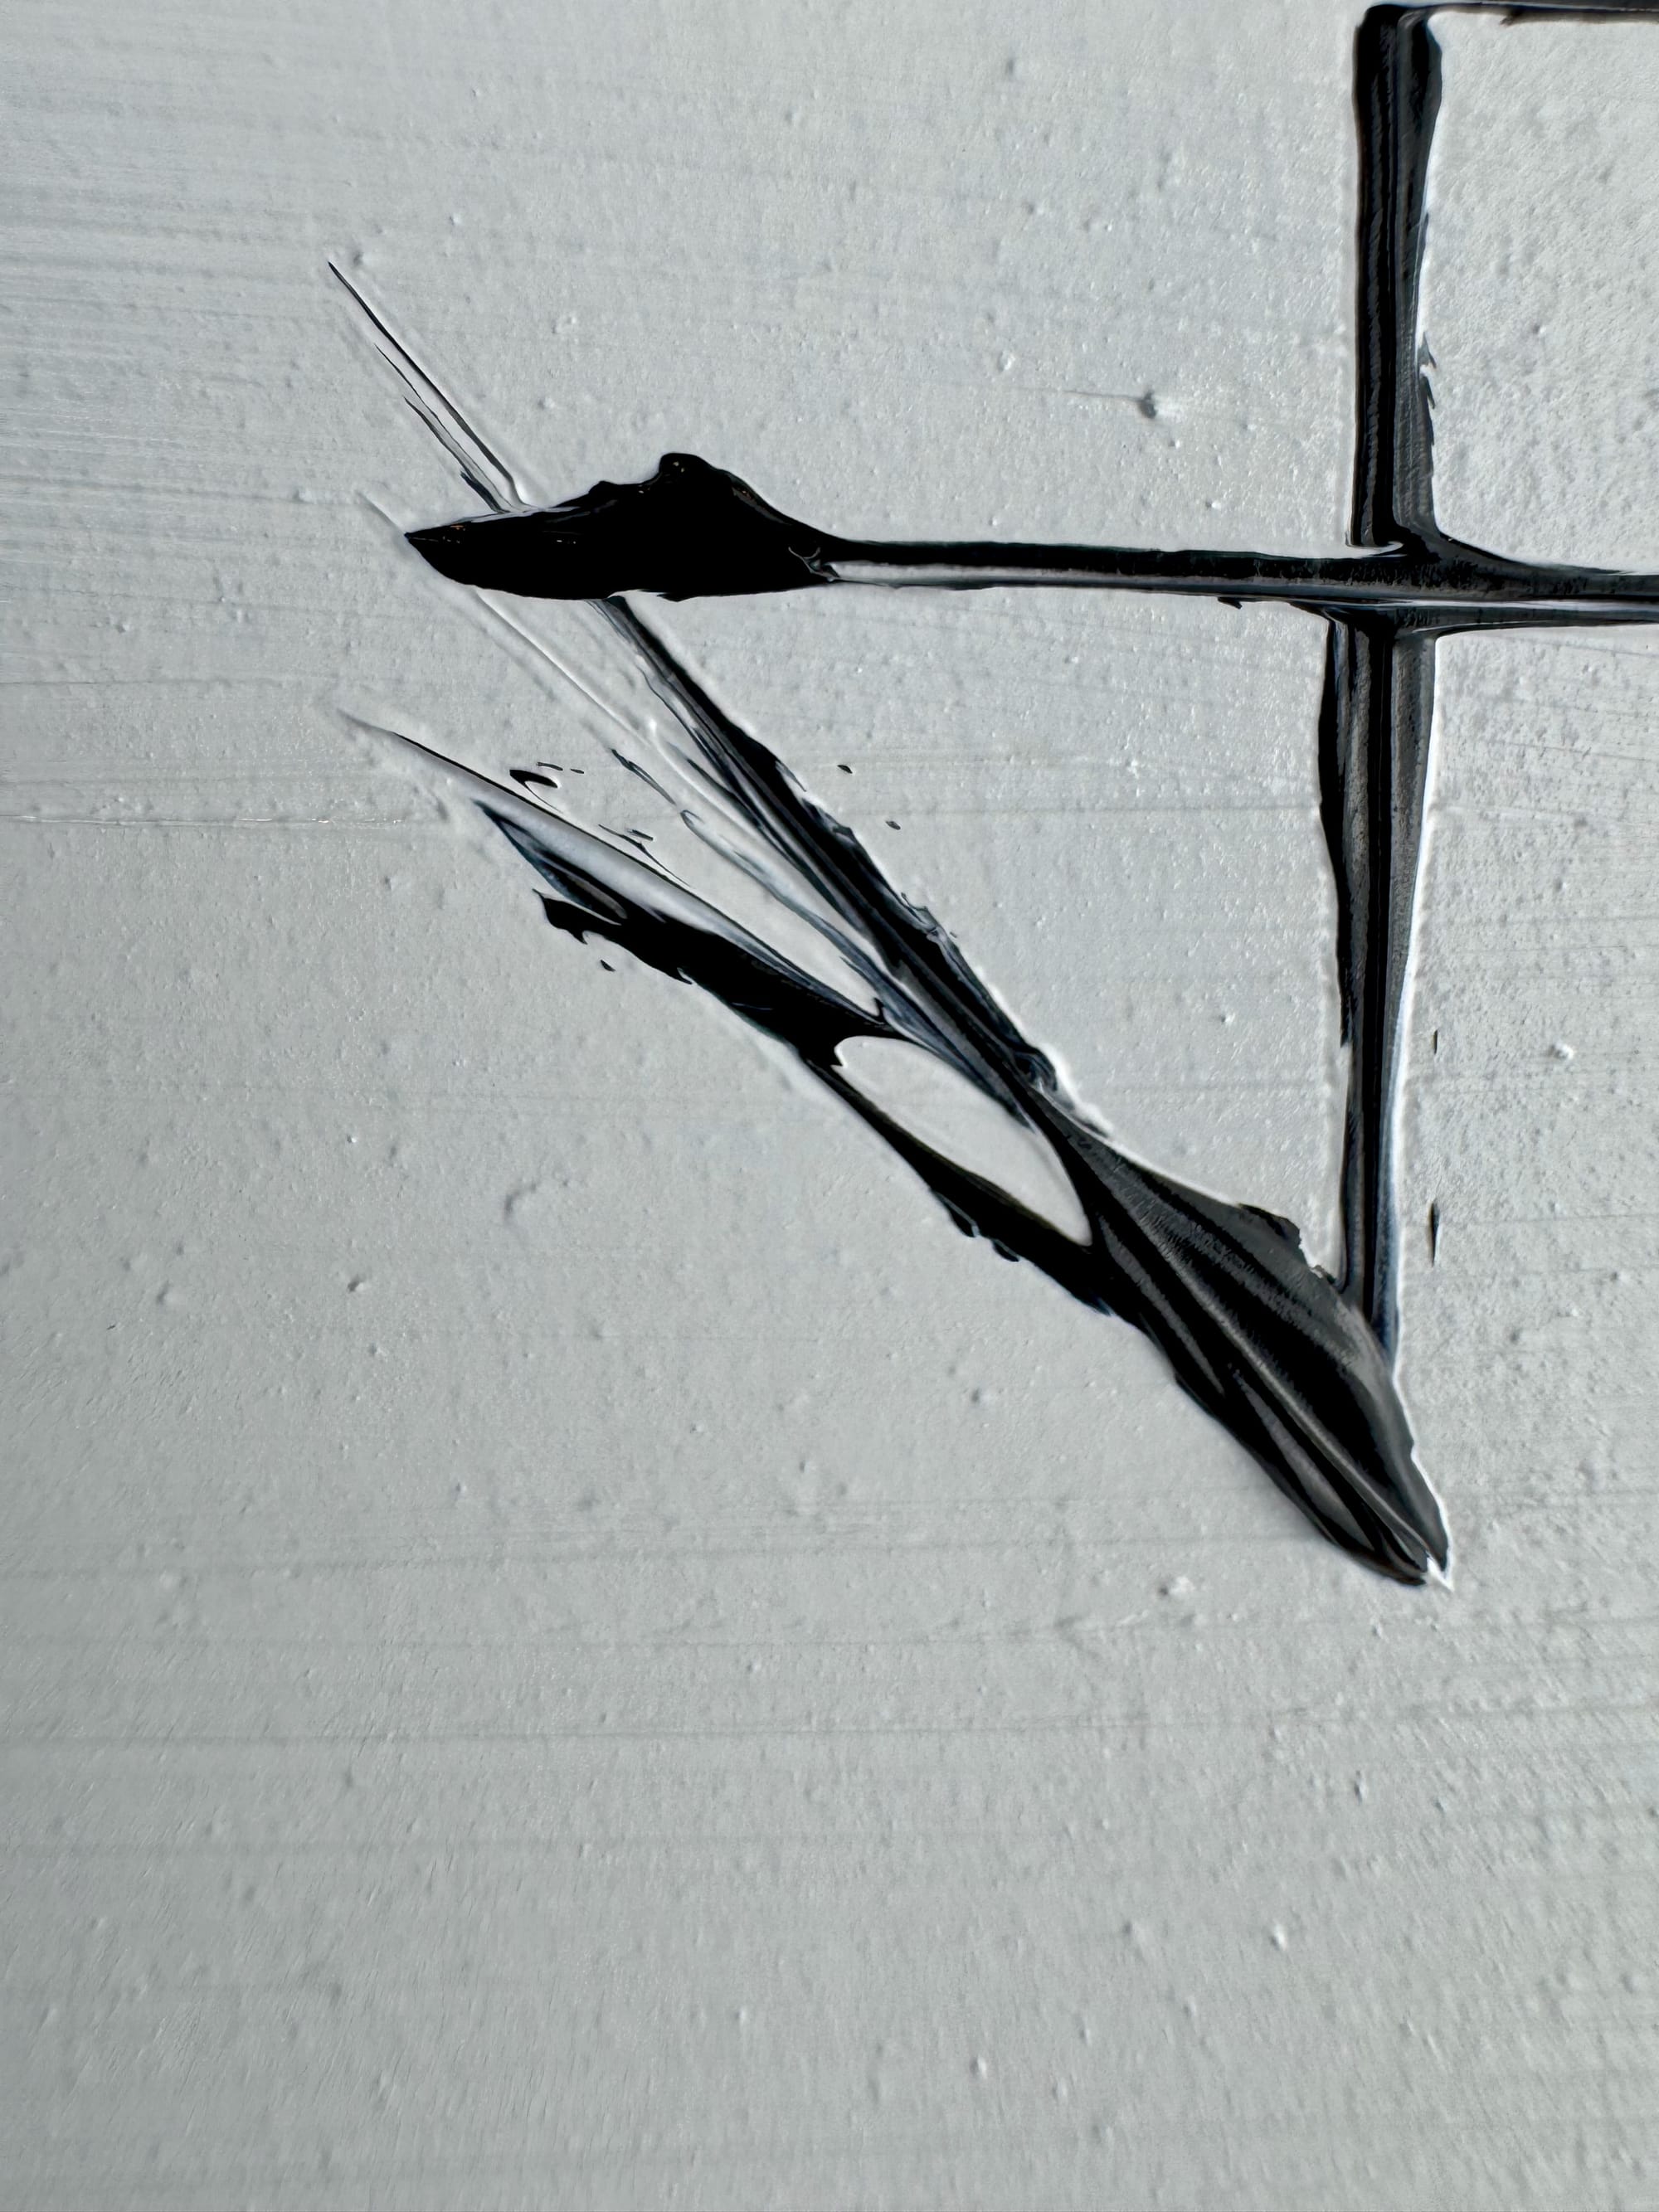
But I do want to give you one for free since you made it this far. If you look at the face you may assume it's just a simple line drawing, but look more closely and you'll see that it's not just any face. My initials are spelled out in the line work 😄
The How
The Creative Process
The Frame
First, I built the frame. This was a process that a started long before this piece. I was previously hand making frames from old frames I got at Goodwill, and then combining it with metal for support. It was from these early prototypes where I developed the taste for a black frame that showed only on the corners.
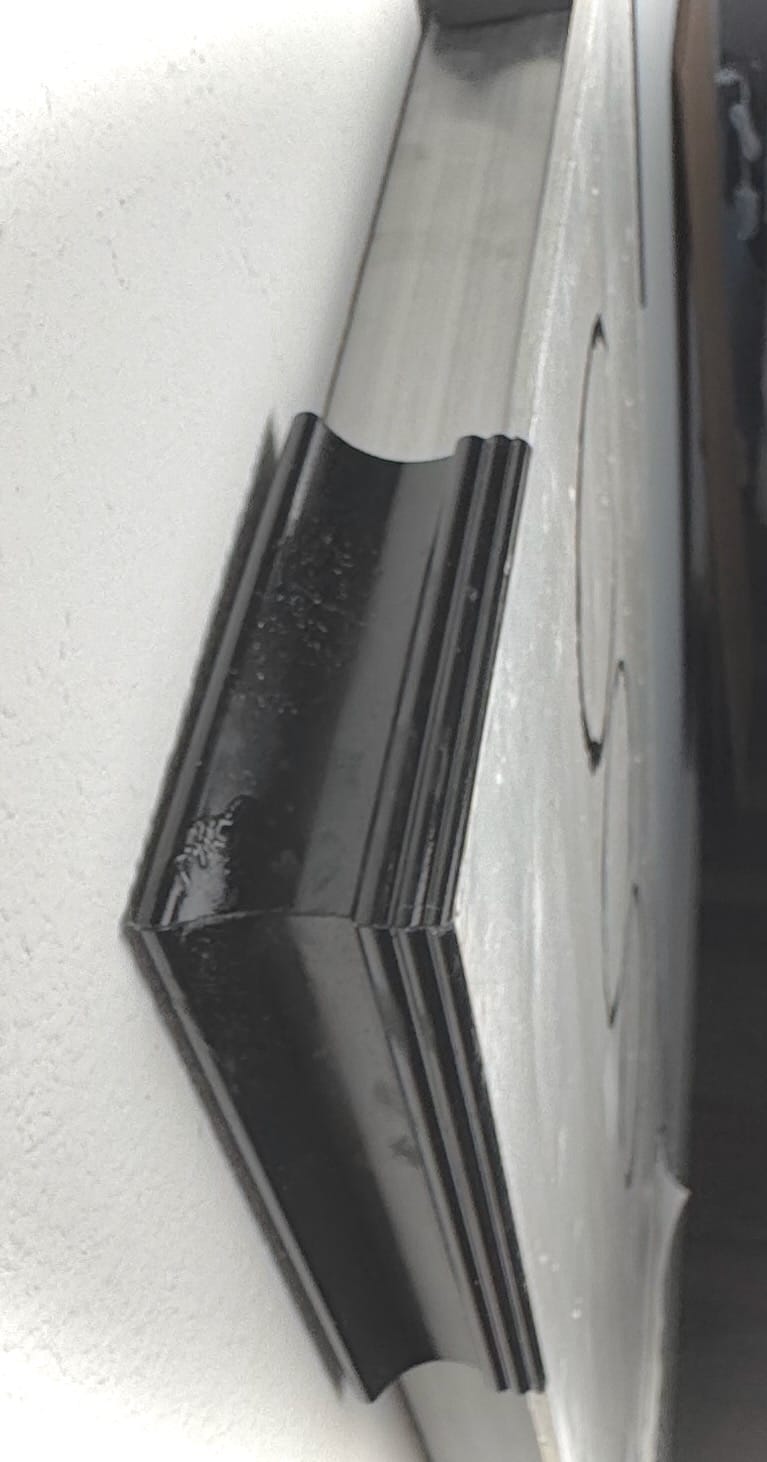
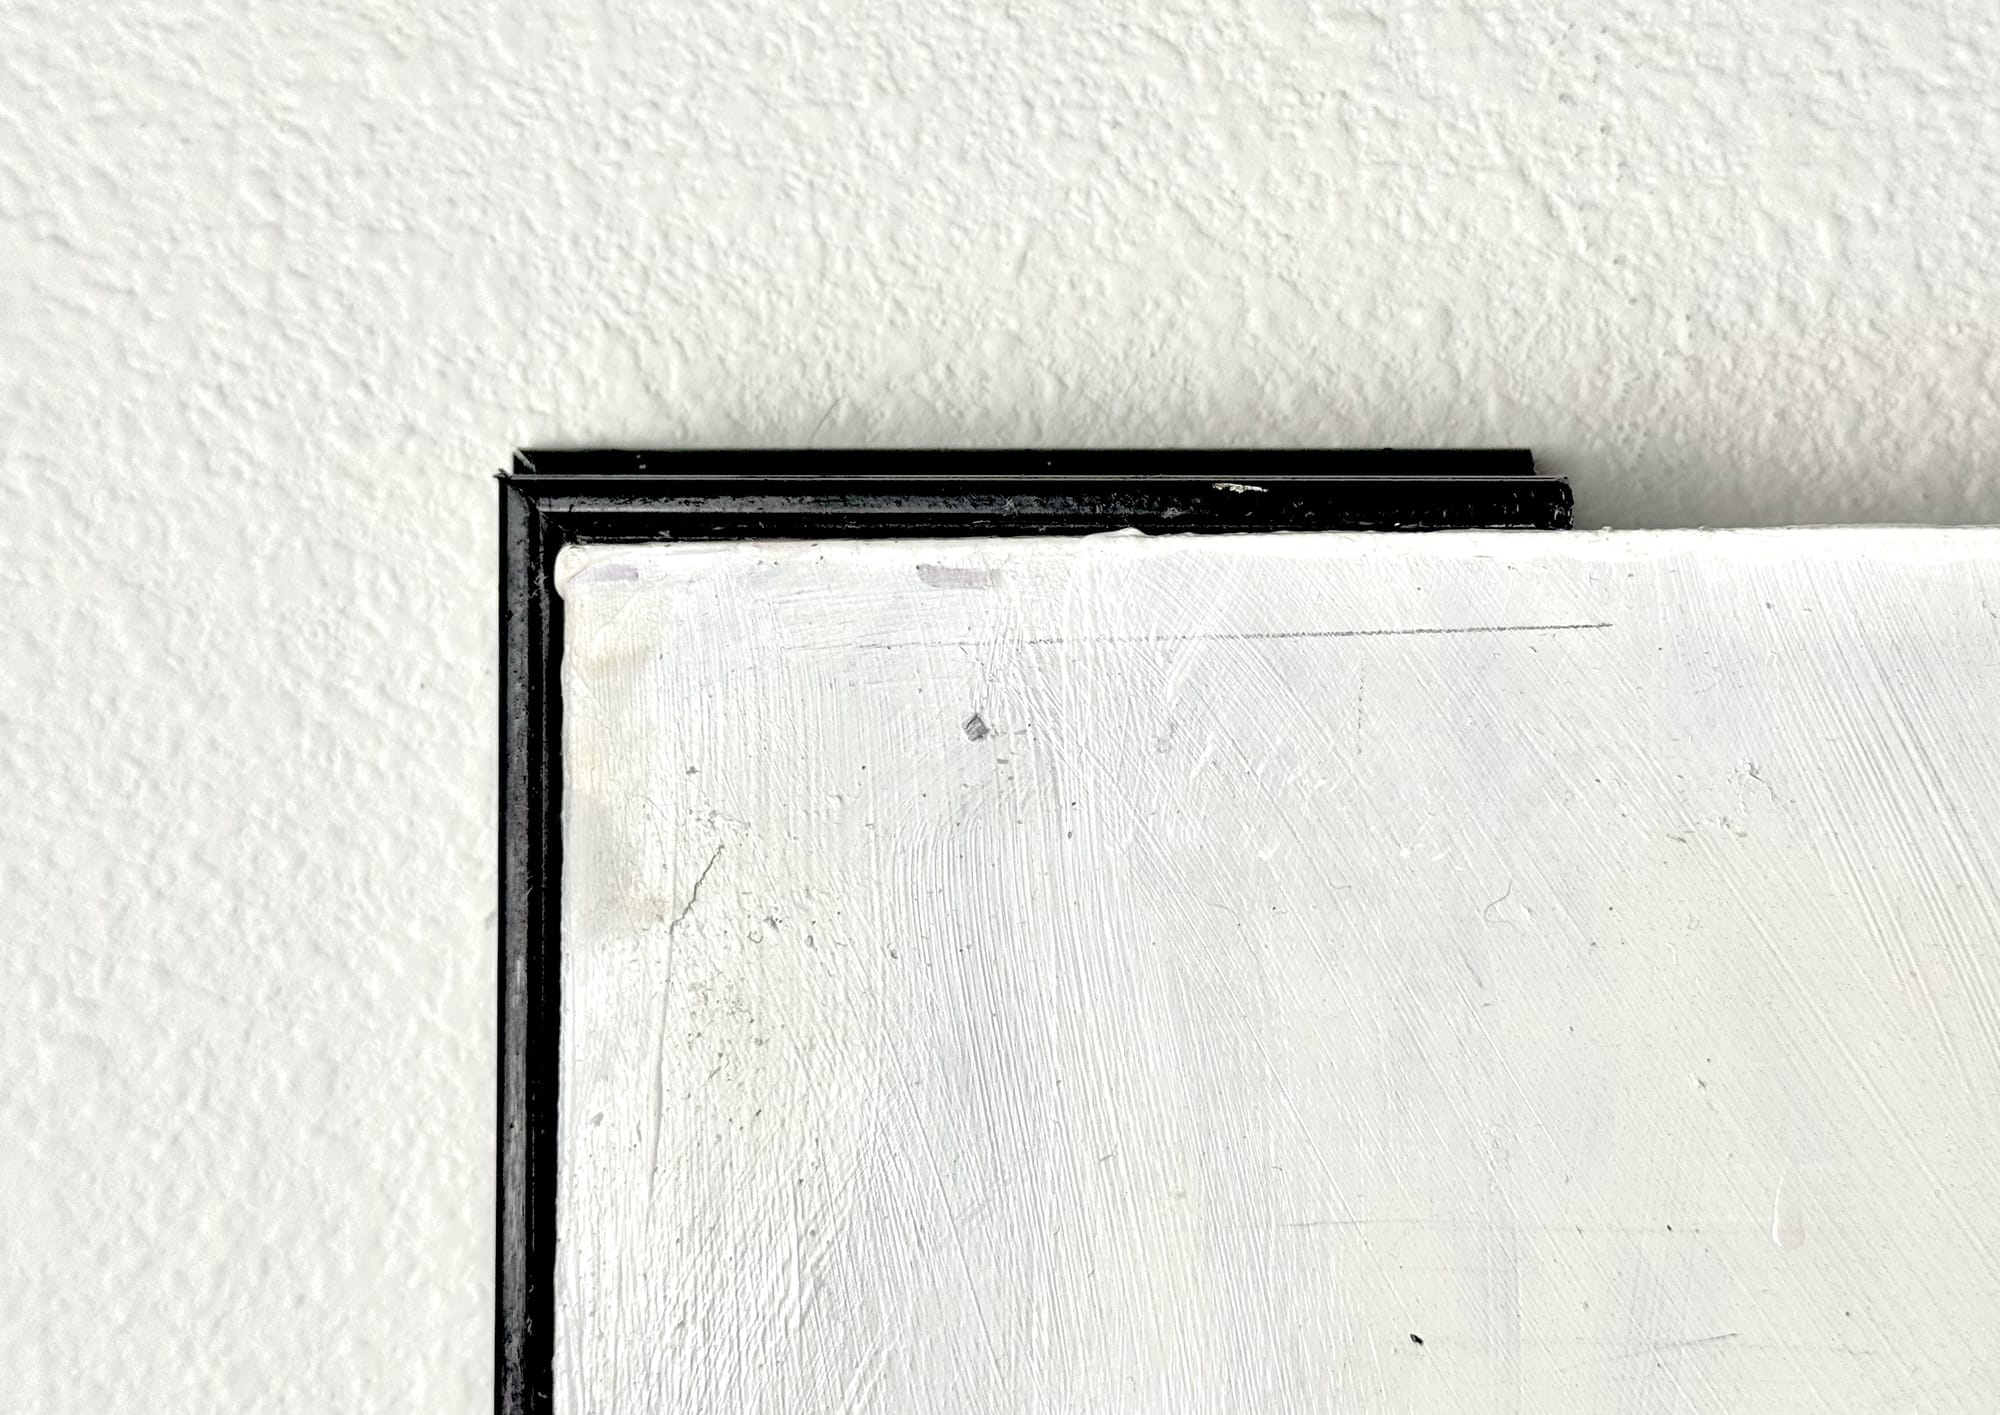
My first attempt at custom frames
As my taste and capabilities expanded though, I knew I had to ditch the metal and go with a full wooden frame. I also knew I had to stop using black spray paint, and move to a wood grain that was black. These changes required a much more complicated process though.
The first step was designing out all the measurements in Figma. This is doubly complicated because I used spline curves and Figma is a graphic design tool, not a proper CAD software. This meant complicated curvature had to be converted back and forth from inches to pixels, and measurements taken by hand instead of a software measuring tool. It reminds me of a great quote from Bob Wheeler: "All hobbies turn into mathematics."
A look into my figma workspace for this piece
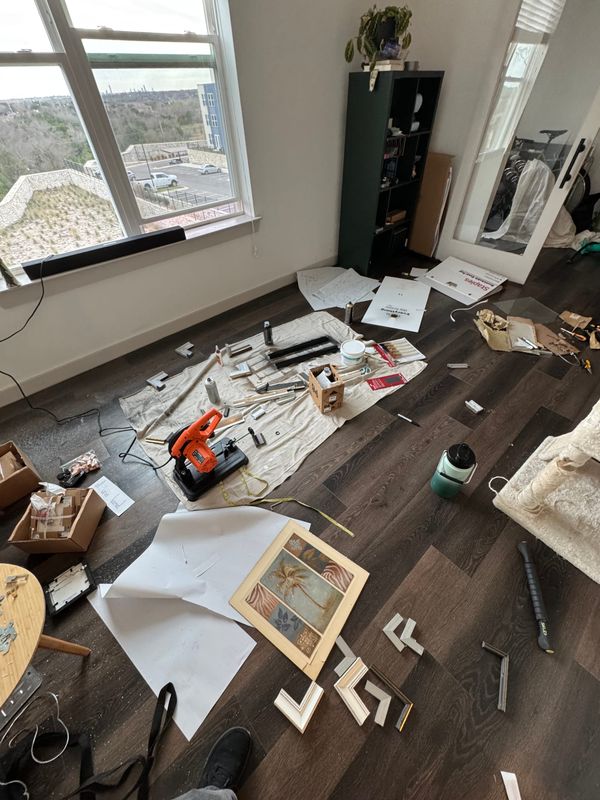
Once the design was laid out, it was time to start cutting. I went to the lumber yard and picked up some white oak, both in board and in veneer, so the grains would match. Then I went to my makerspace where I cut them. The laser was used for the veneer, but it failed to cut the thick wood for the frame. I had to quickly pivot, and move to a CNC router that could do the frame. Unfortunately, I placed the board just slightly askew, as there's not a great way to line it up due to the process for gluing it down, and a finger nail width was lost on one side. Nonetheless, I decided it was good enough to move forward with glueing it together.
After glueing the frame together with wood glue and clamps, I glued the veneer on top with super glue and activator. It was necessary to have it in two parts, a support and a veneer, so I could separate the two axis I wanted the curves in. There is the first, more obvious curve, that you see in the support structure, which allows the frame to tuck behind the piece on the sides. The second axis of curve is on the veneer where it curves up to the height of the piece on the corners. This design with multiple curves would have been impossible to achieve with a CNC machine on a single piece of wood.
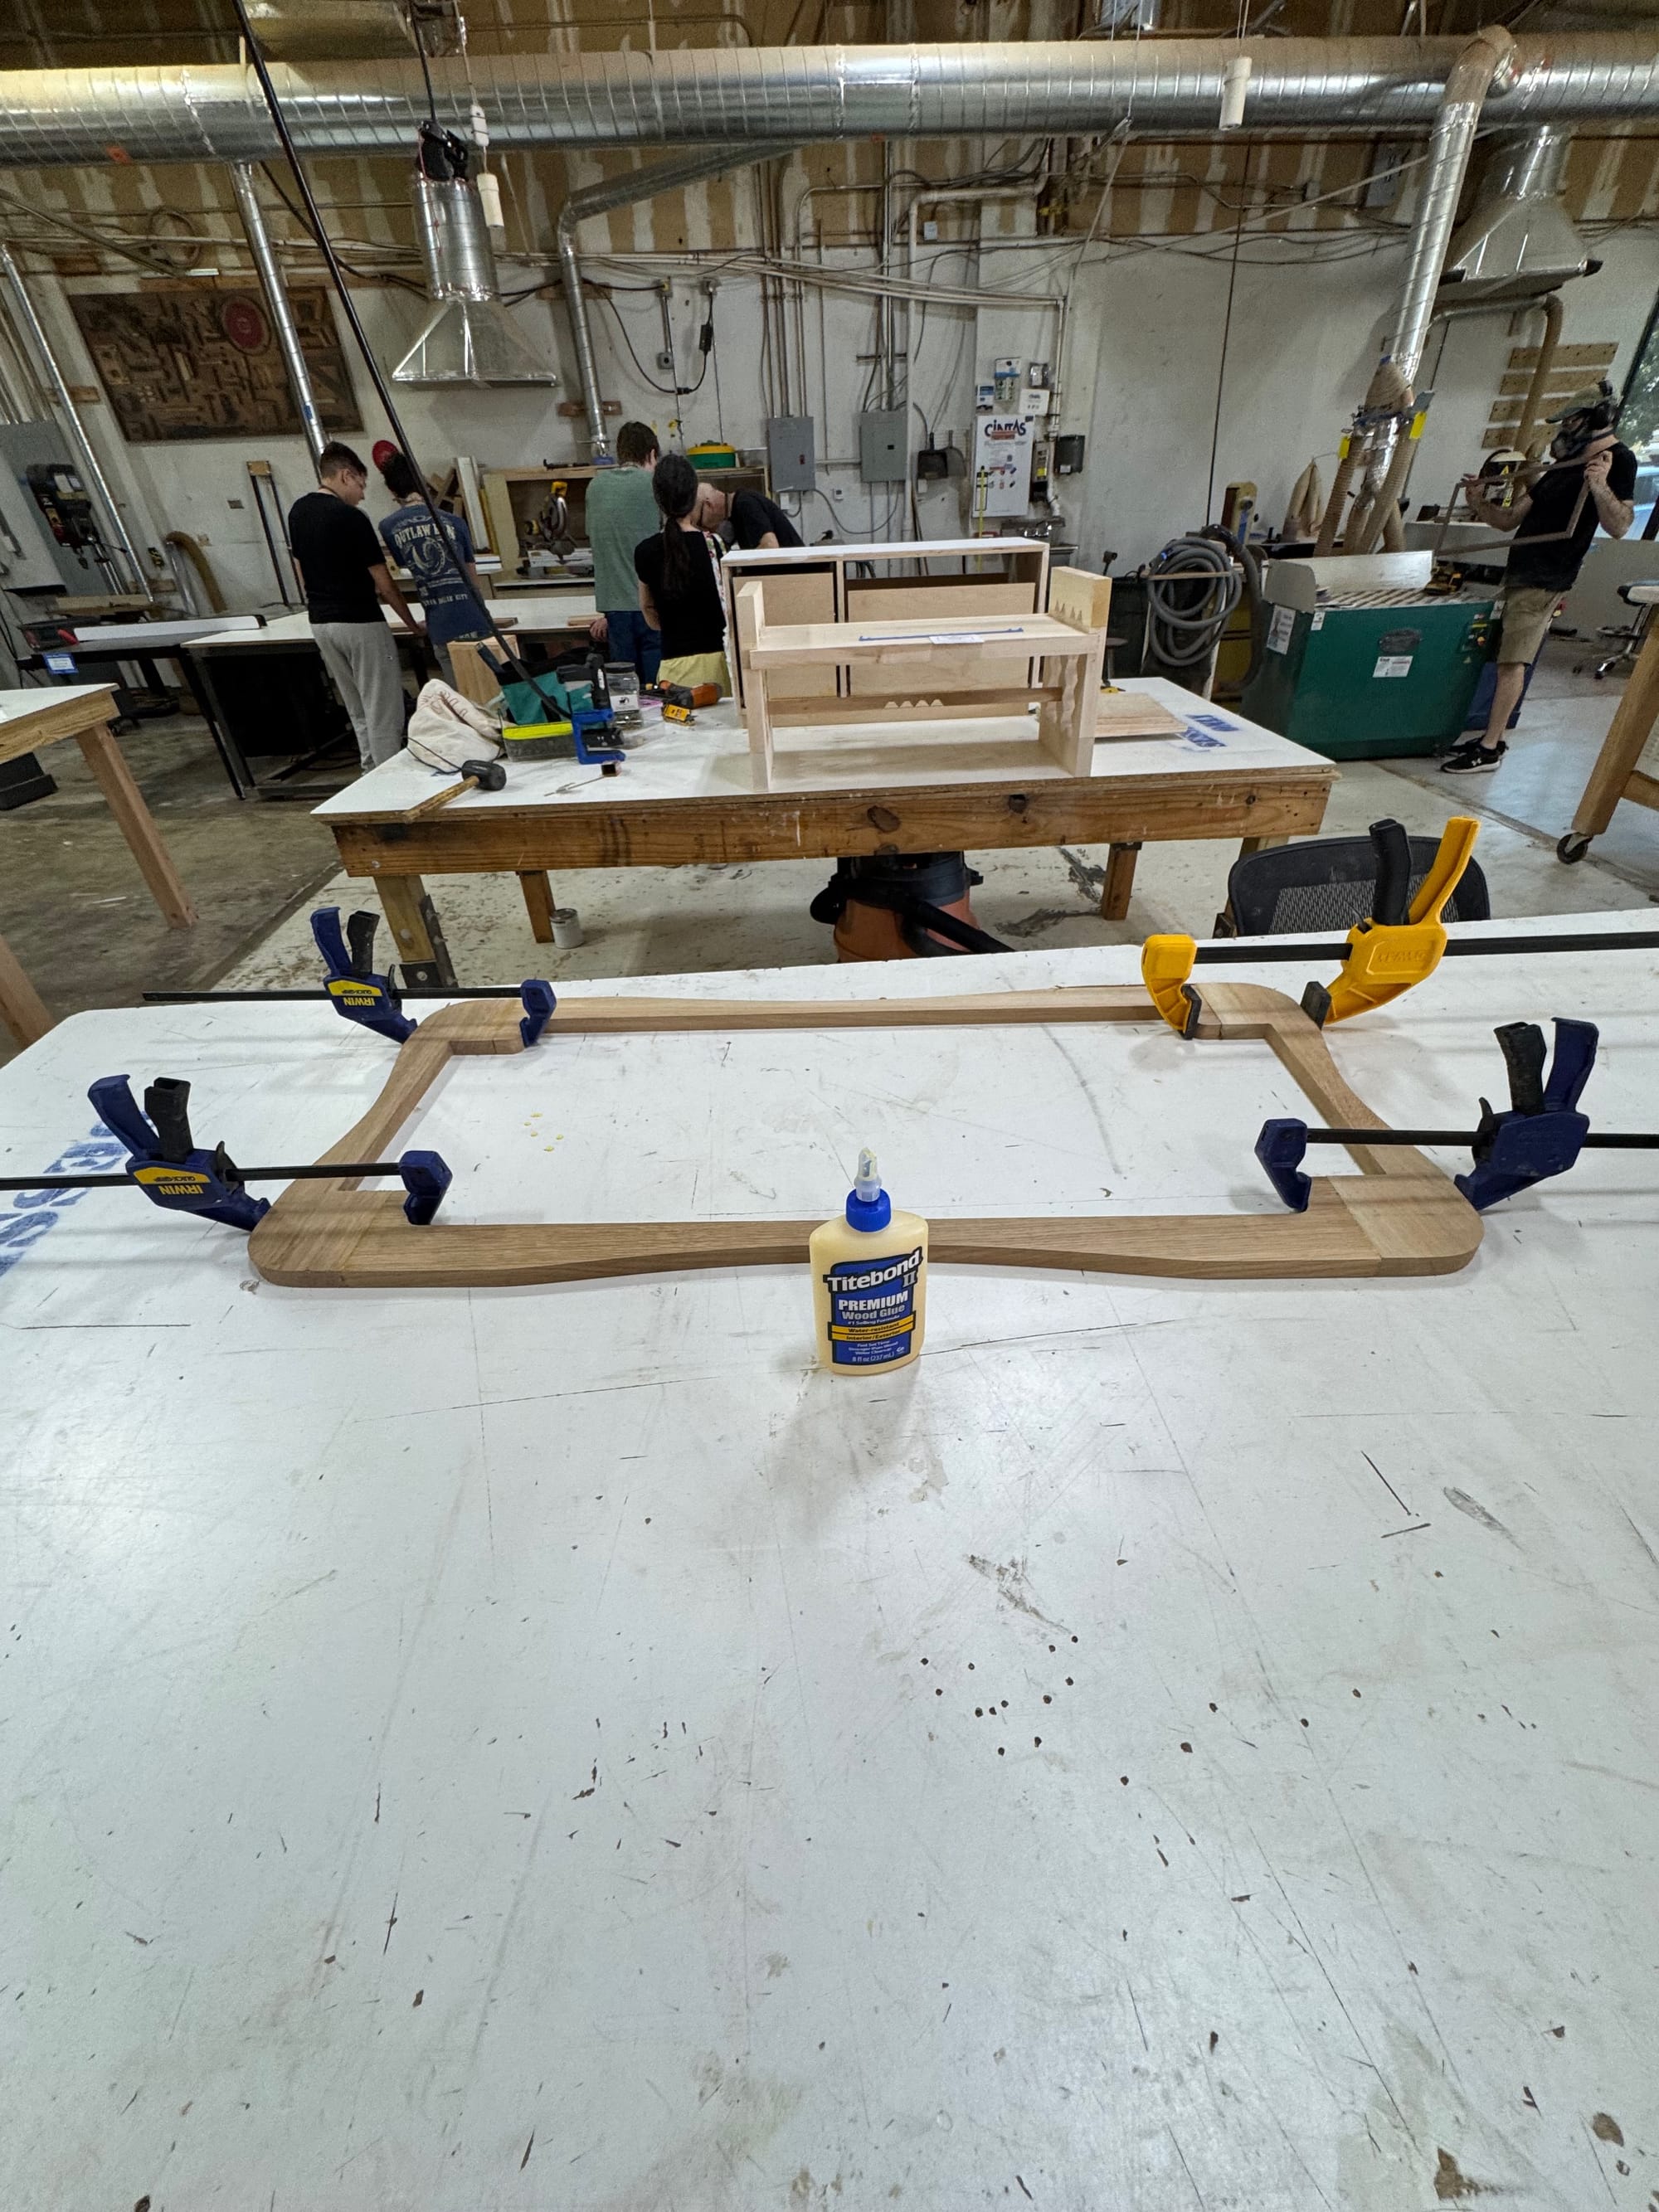
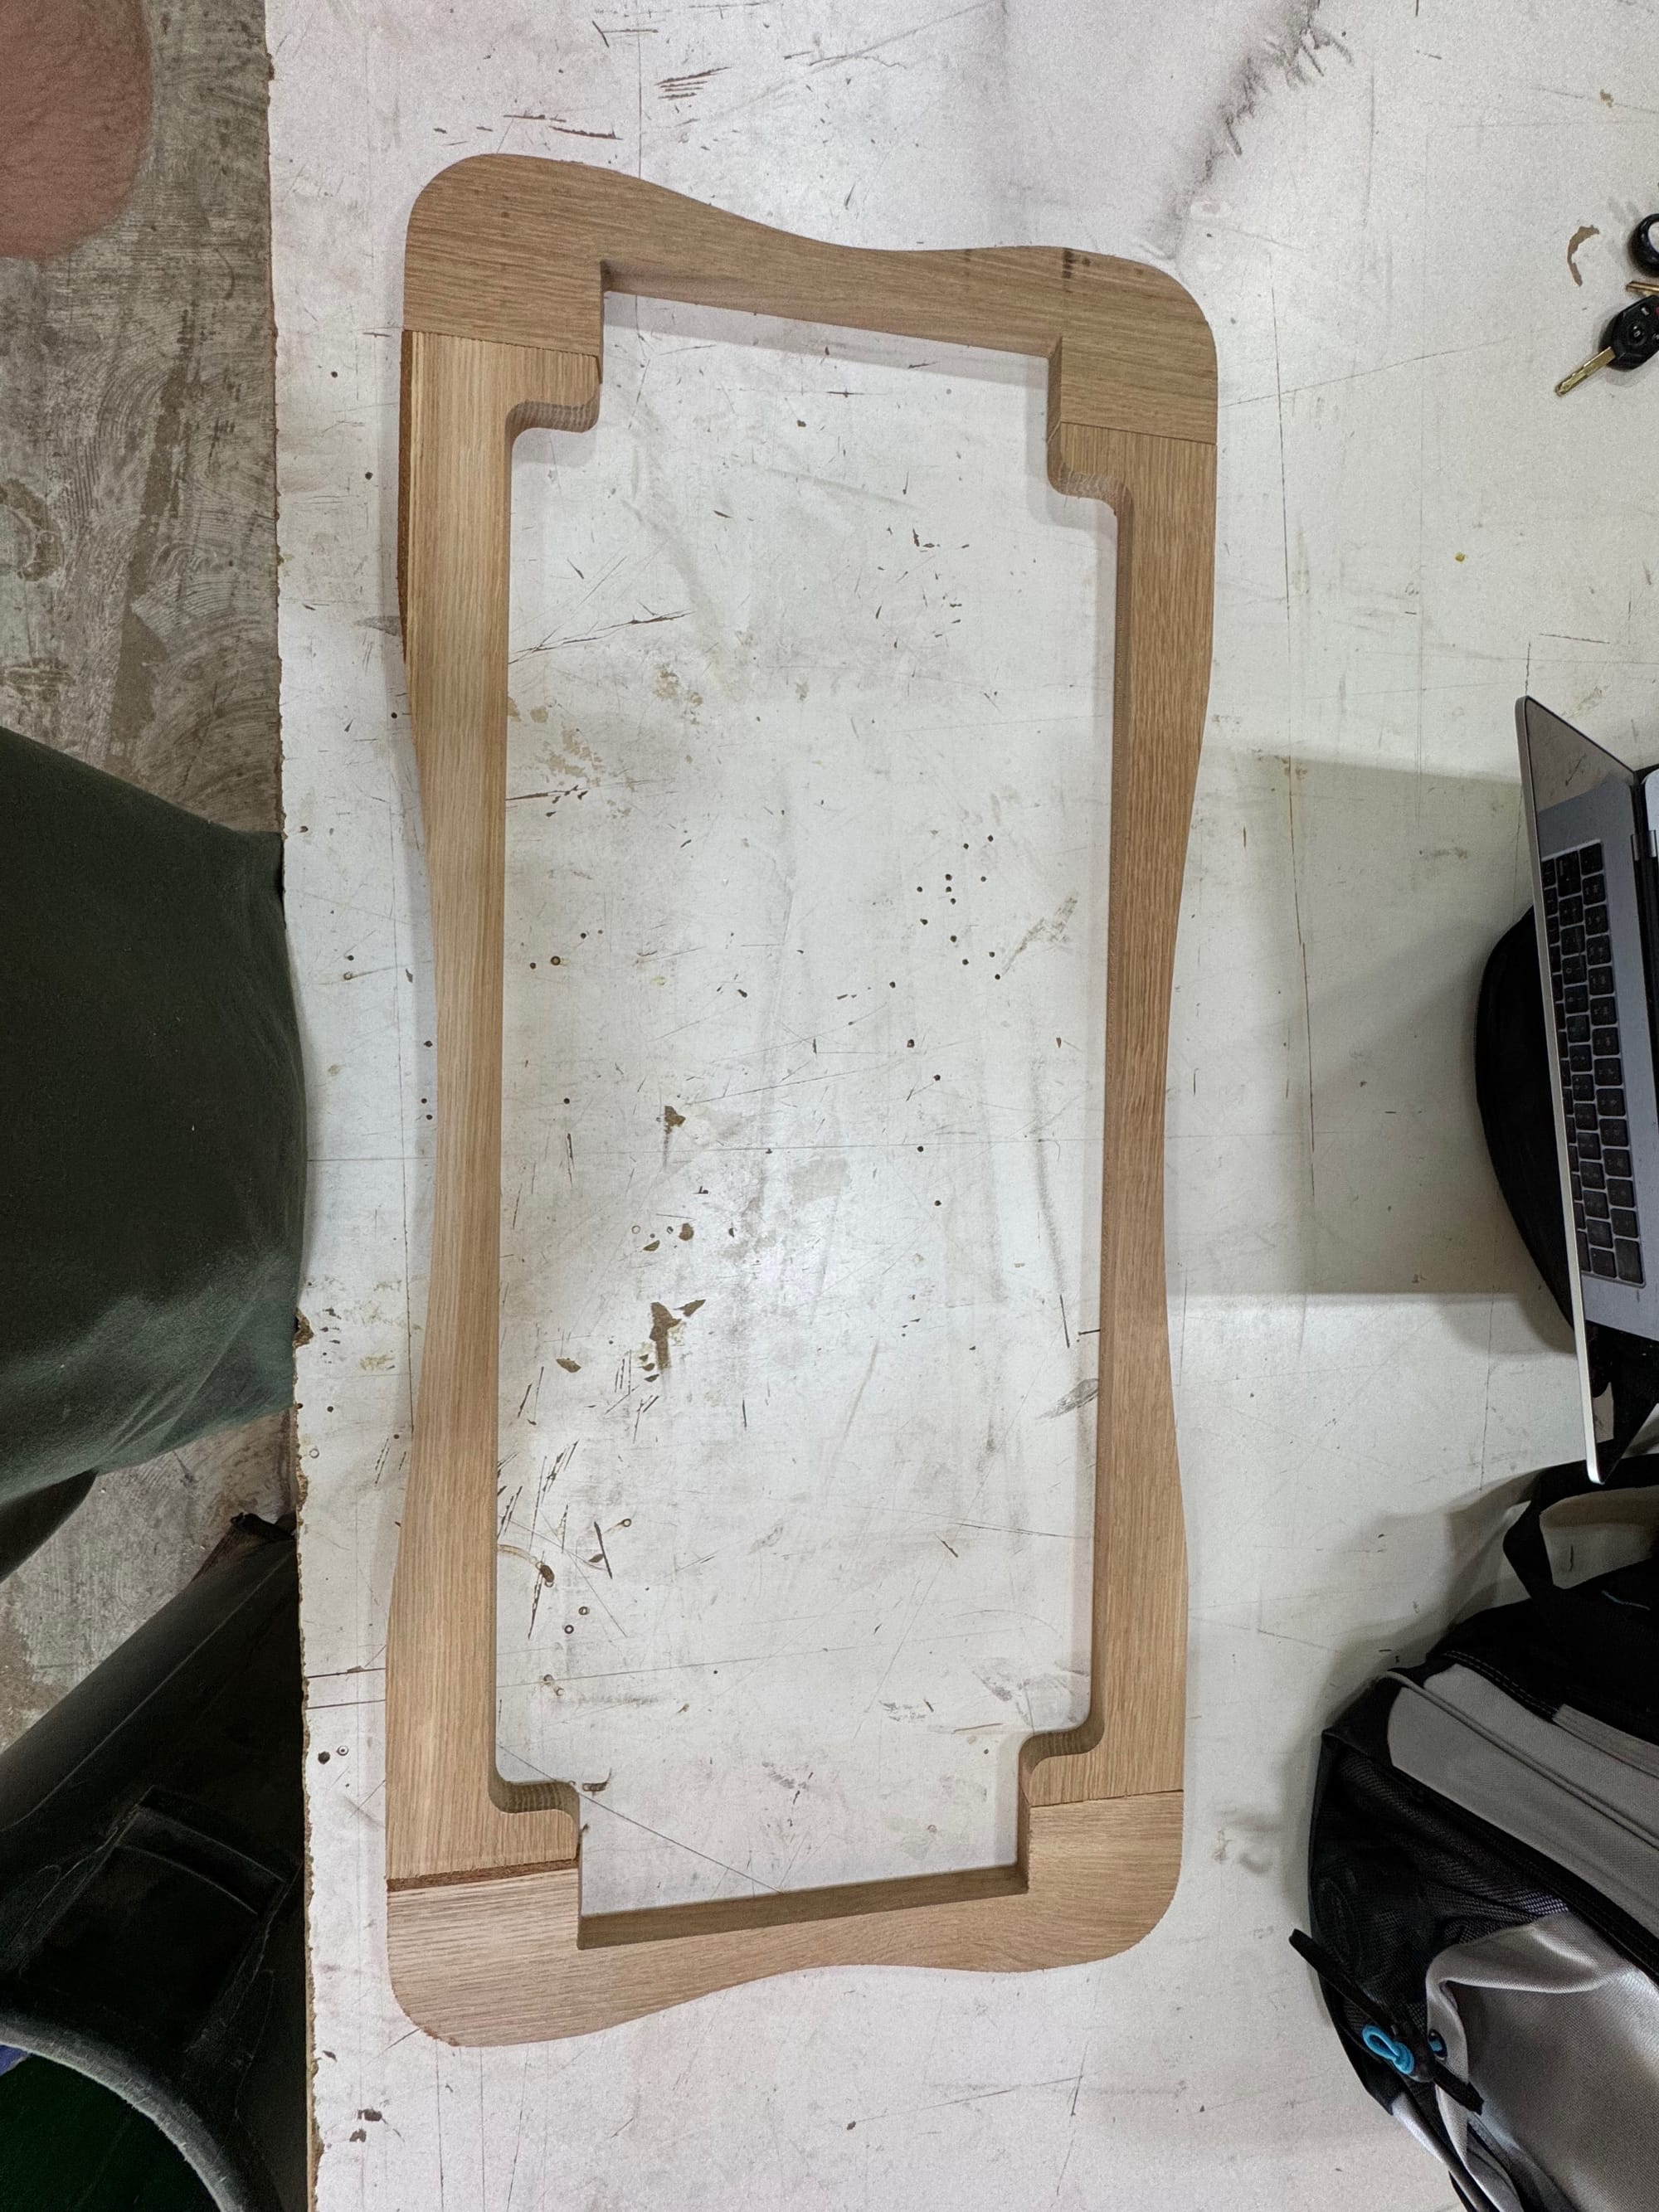
The Support Structure
The unintentional benefit of this design was its ability to curve more easily for rounded corners instead of miters which creates the illusion of one solid piece of wood. Don't you love it when form follows function beautifully?
The last step for the frame was ebonizing it. This is a process where iron acetate (made by soaking steel wool in vinegar) and black tea are applied to the wood. It creates a chemical reaction with the tannins in the wood that physically turn it black. This is different from a typical finish or paint in that it allows the wood grain to show through brilliantly and clearly. I topped that off with three gloss coats to give it that premium shine.
The ebonizing reaction
The Piece
Now that I knew the size of the frame post glue-up, I could cut out the piece on the laser. I used 3/16" hardboard with a black and glitter acrylic shipped in from Houston. The previous week I had done a test run of the acrylic inlay technique where I learned some easy mistakes and was able to create a better process. Long story short, I realized painting the board without filling in the hole where the acrylic should lay was a tricky issue. To solve, I placed painters tape over the acrylic before cutting it. This way I could place in the inlay before painting, and then peel it afterwards.
The laser cutting
After calculating the kerf (thickness of the laser cut) and cutting everything out, I glued the acrylic in place and got to painting. I decided to place the gesso on in a form that would make it feel like wind. I love how this gesso on hardboard looks. The brown underfloor turns into a cool blue with the gesso and adds a lot of depth and texture to the brush strokes.
Some quick cuts of the painting
After placing on the gesso though, I realized I had made a huge mistake. You see, when I first tested this technique I didn't put down a clear acrylic layer first. When going to do the main piece, I did. The purpose of this clear layer is to prevent lignin from the wood leaching into the gesso over time, eventually yellowing it. I thought this would be harmless but it ended up almost ruining it because that clear layer got burned by the laser and showed through the gesso creating a horrible brown tint around the black acrylic and border. Acrylic white paint wasn't working to cover it up and I felt I would just have to accept it. Then I remembered I also had oil paints. Thankfully, the oil paints were opaque enough to cover it, making the final piece look much cleaner.
Next up were the eyes. I initially planned on 3D printing them to get a beautiful water droplet shape that had a rounded undercut on the edges. Despite learning a new 3D CAD modeling software, taking the 3D printing course, and designing the piece, I found that the 3D printer just wouldn't have the capability to create the shape I wanted with precision. The filament was too thick and would leave ridges along that gentle, nearly horizontal, curve that I needed. A curve that I needed to be as smooth as possible so it could be painted to look like metal.
After a problem solving session I decided to pivot to resin. It took some practice (nearly 50 tries), but I figured out how to get the resin into the shapes I wanted while using the UV light to dry it at the exact right moment. I tested two shapes, perfect circles and dripping ones.
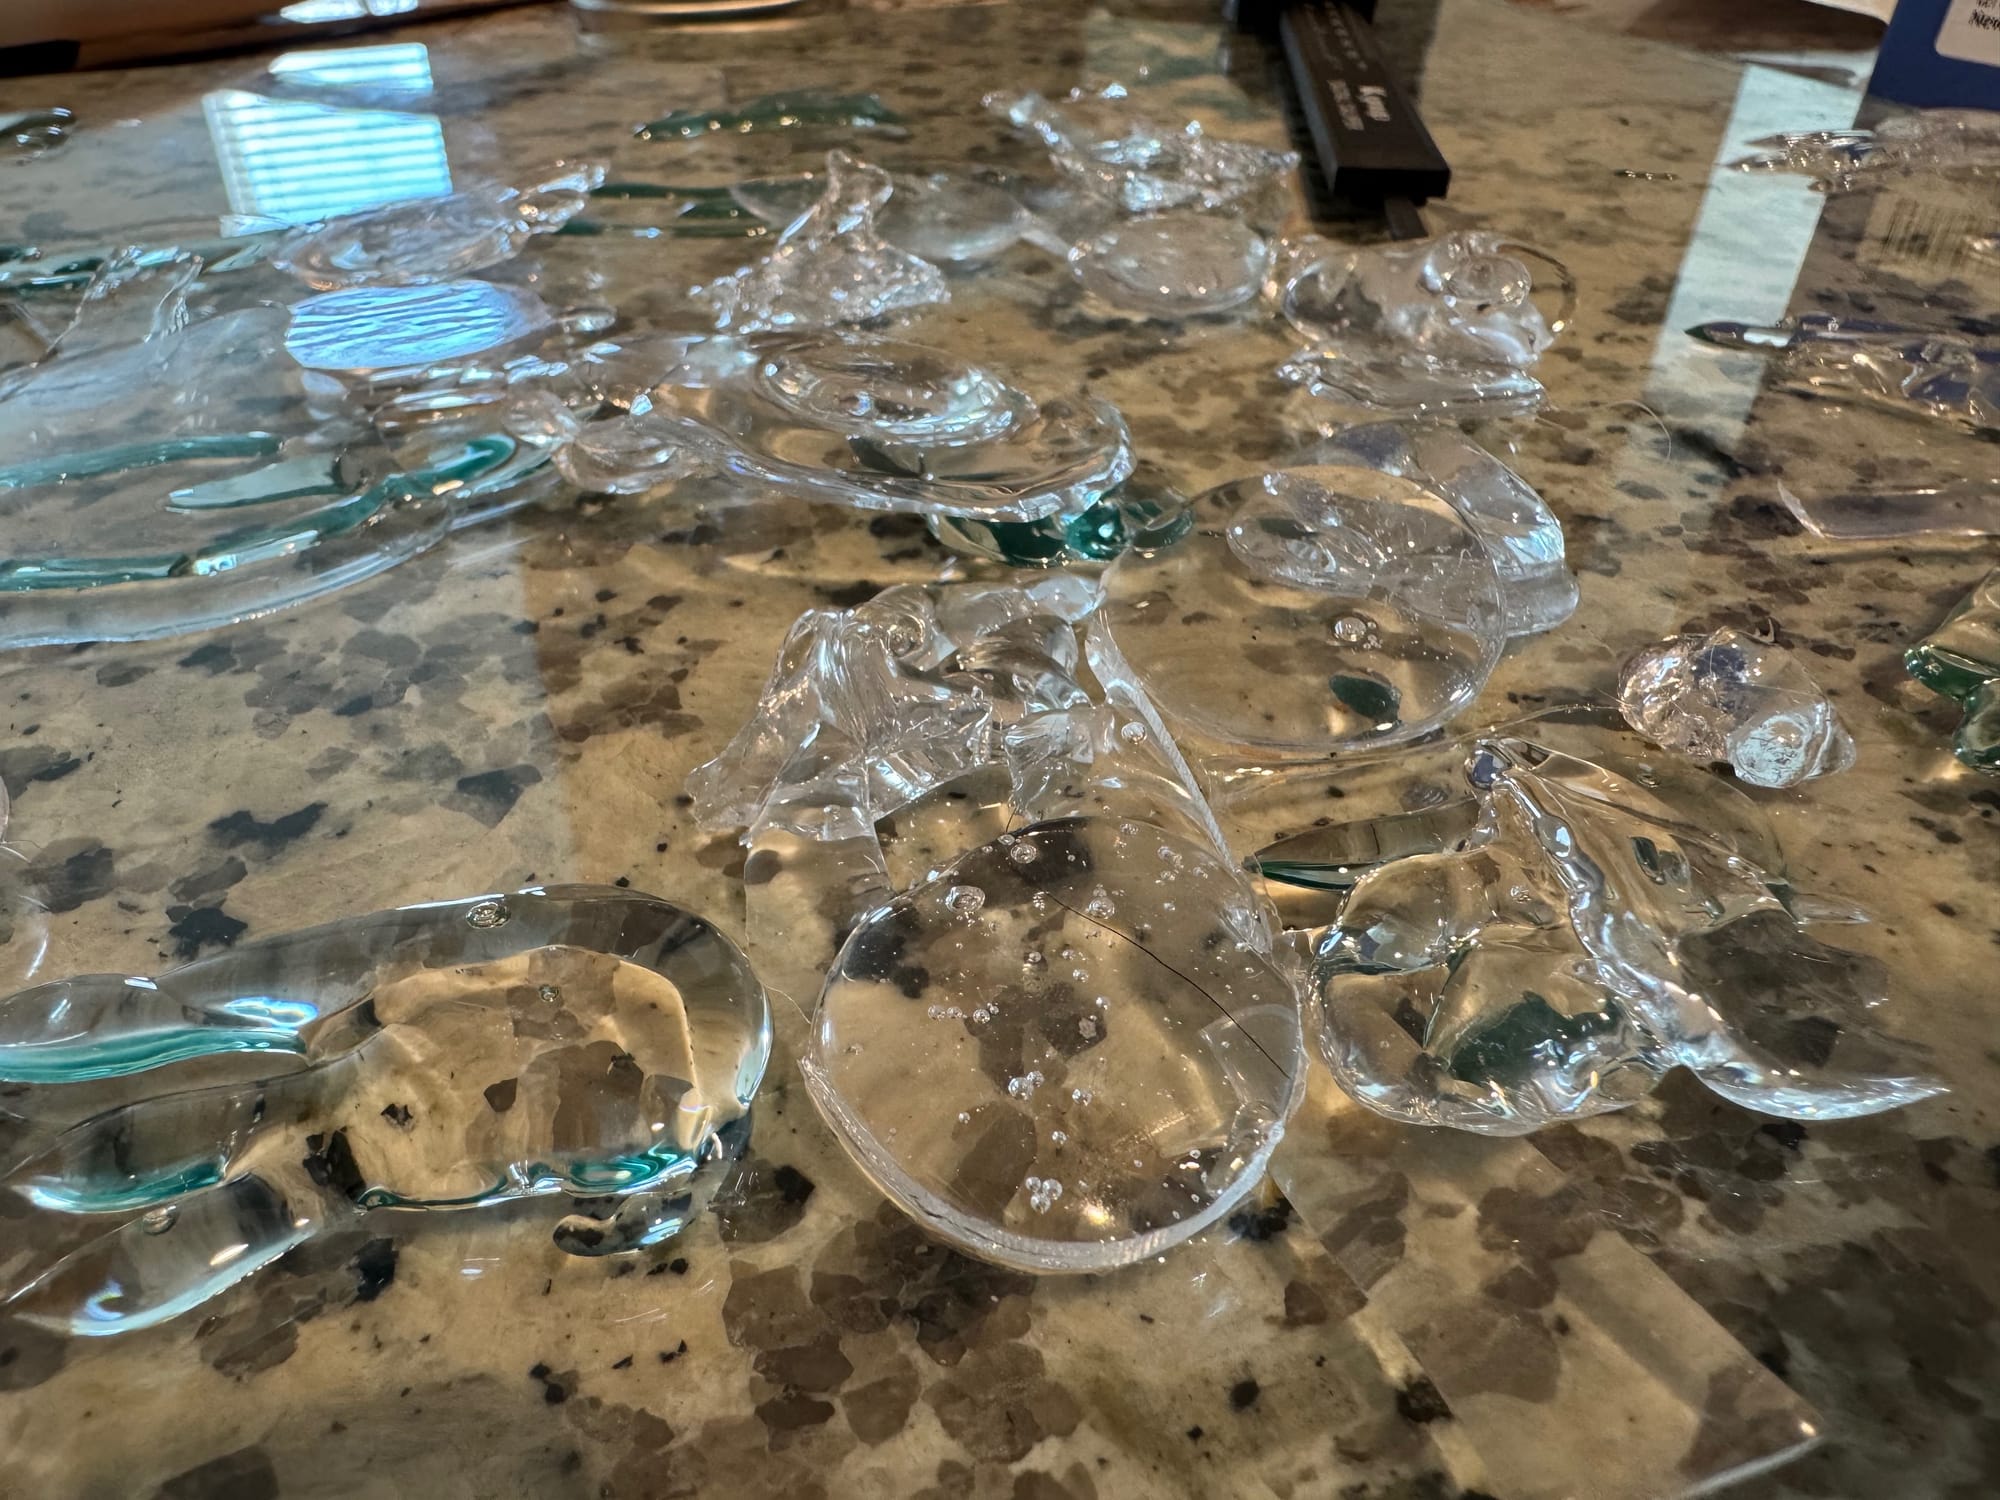
Once the resin was made, I sprayed on primer, automotive candy paint, and 5 layers of clear coat. This gave it the strong metallic look I was going for. The candy gives it a glittering finish that adds depth. The paints were custom mixed at a local auto paint store
Unfortunately, the paint didn't come out the way I wanted. Despite being pressed for time, I decided to remake them from scratch. I had to get a new paint color from the store for the red, and I had to be more diligent about removing bubbles in the original resin mold.
In the meantime, I crowd sourced my decision for which eye design to go with. By posting both the perfect circles and dripping ones on my instagram with a poll, the decision was made to go with the circles.
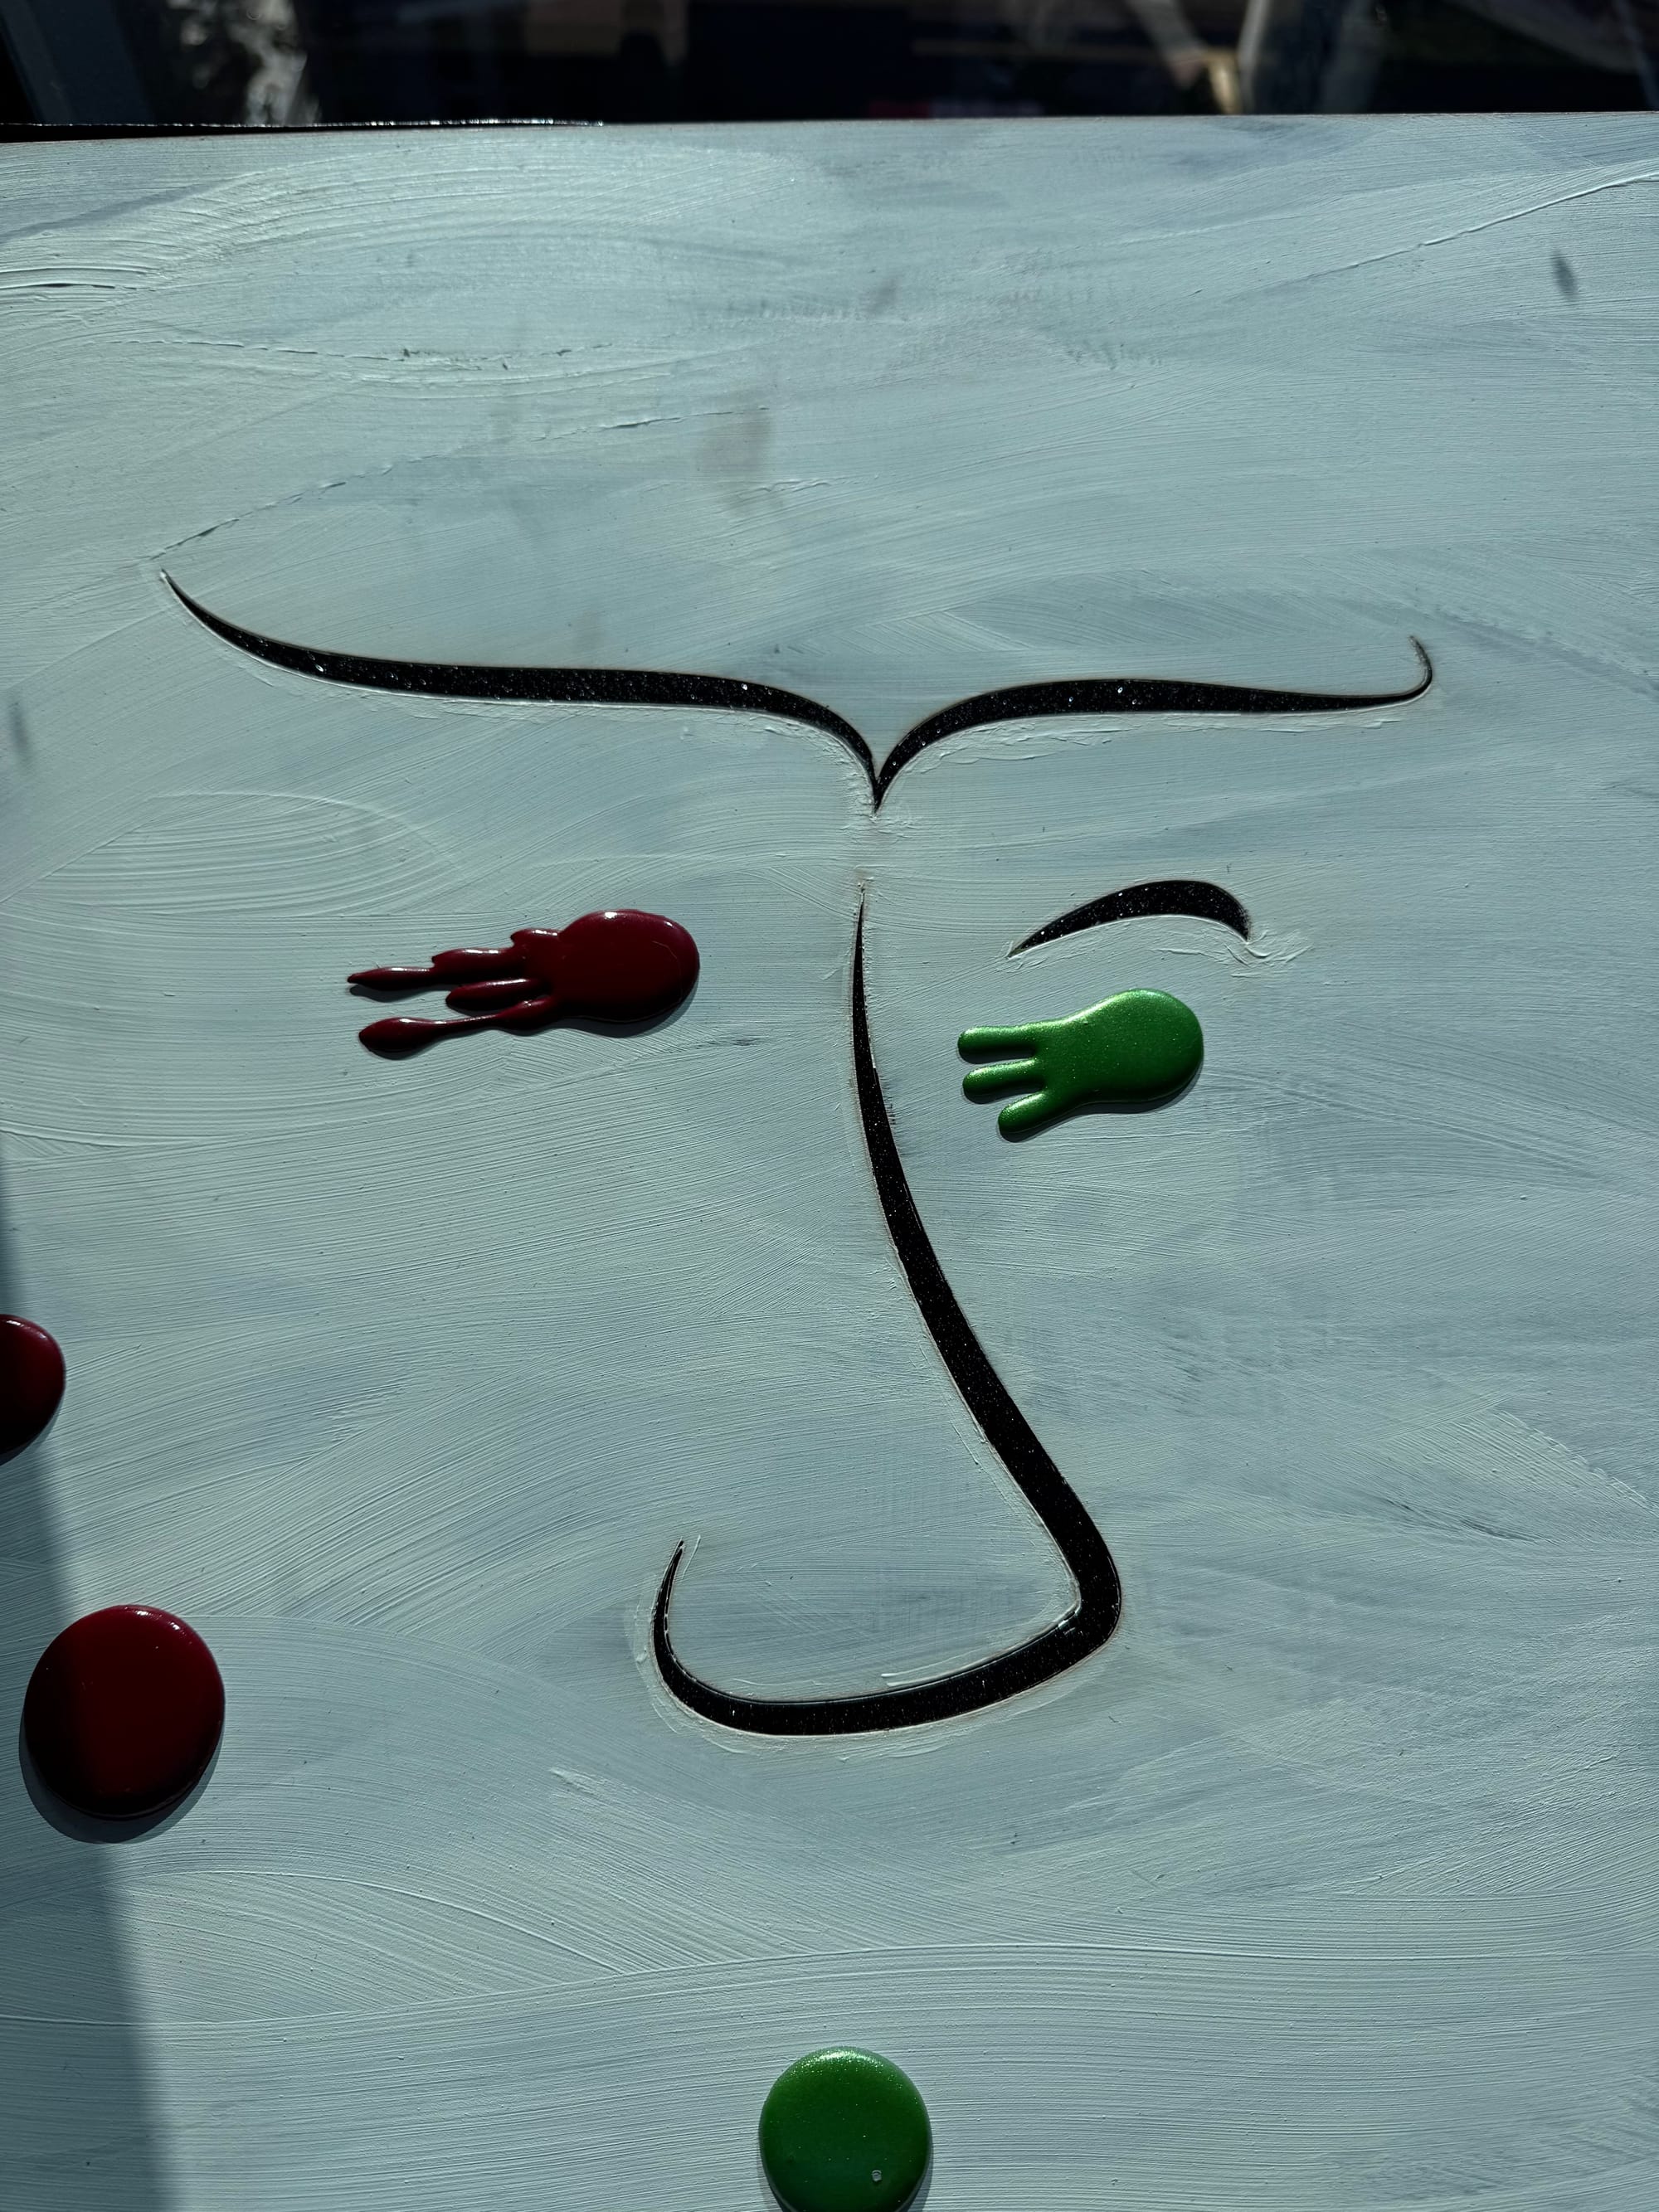
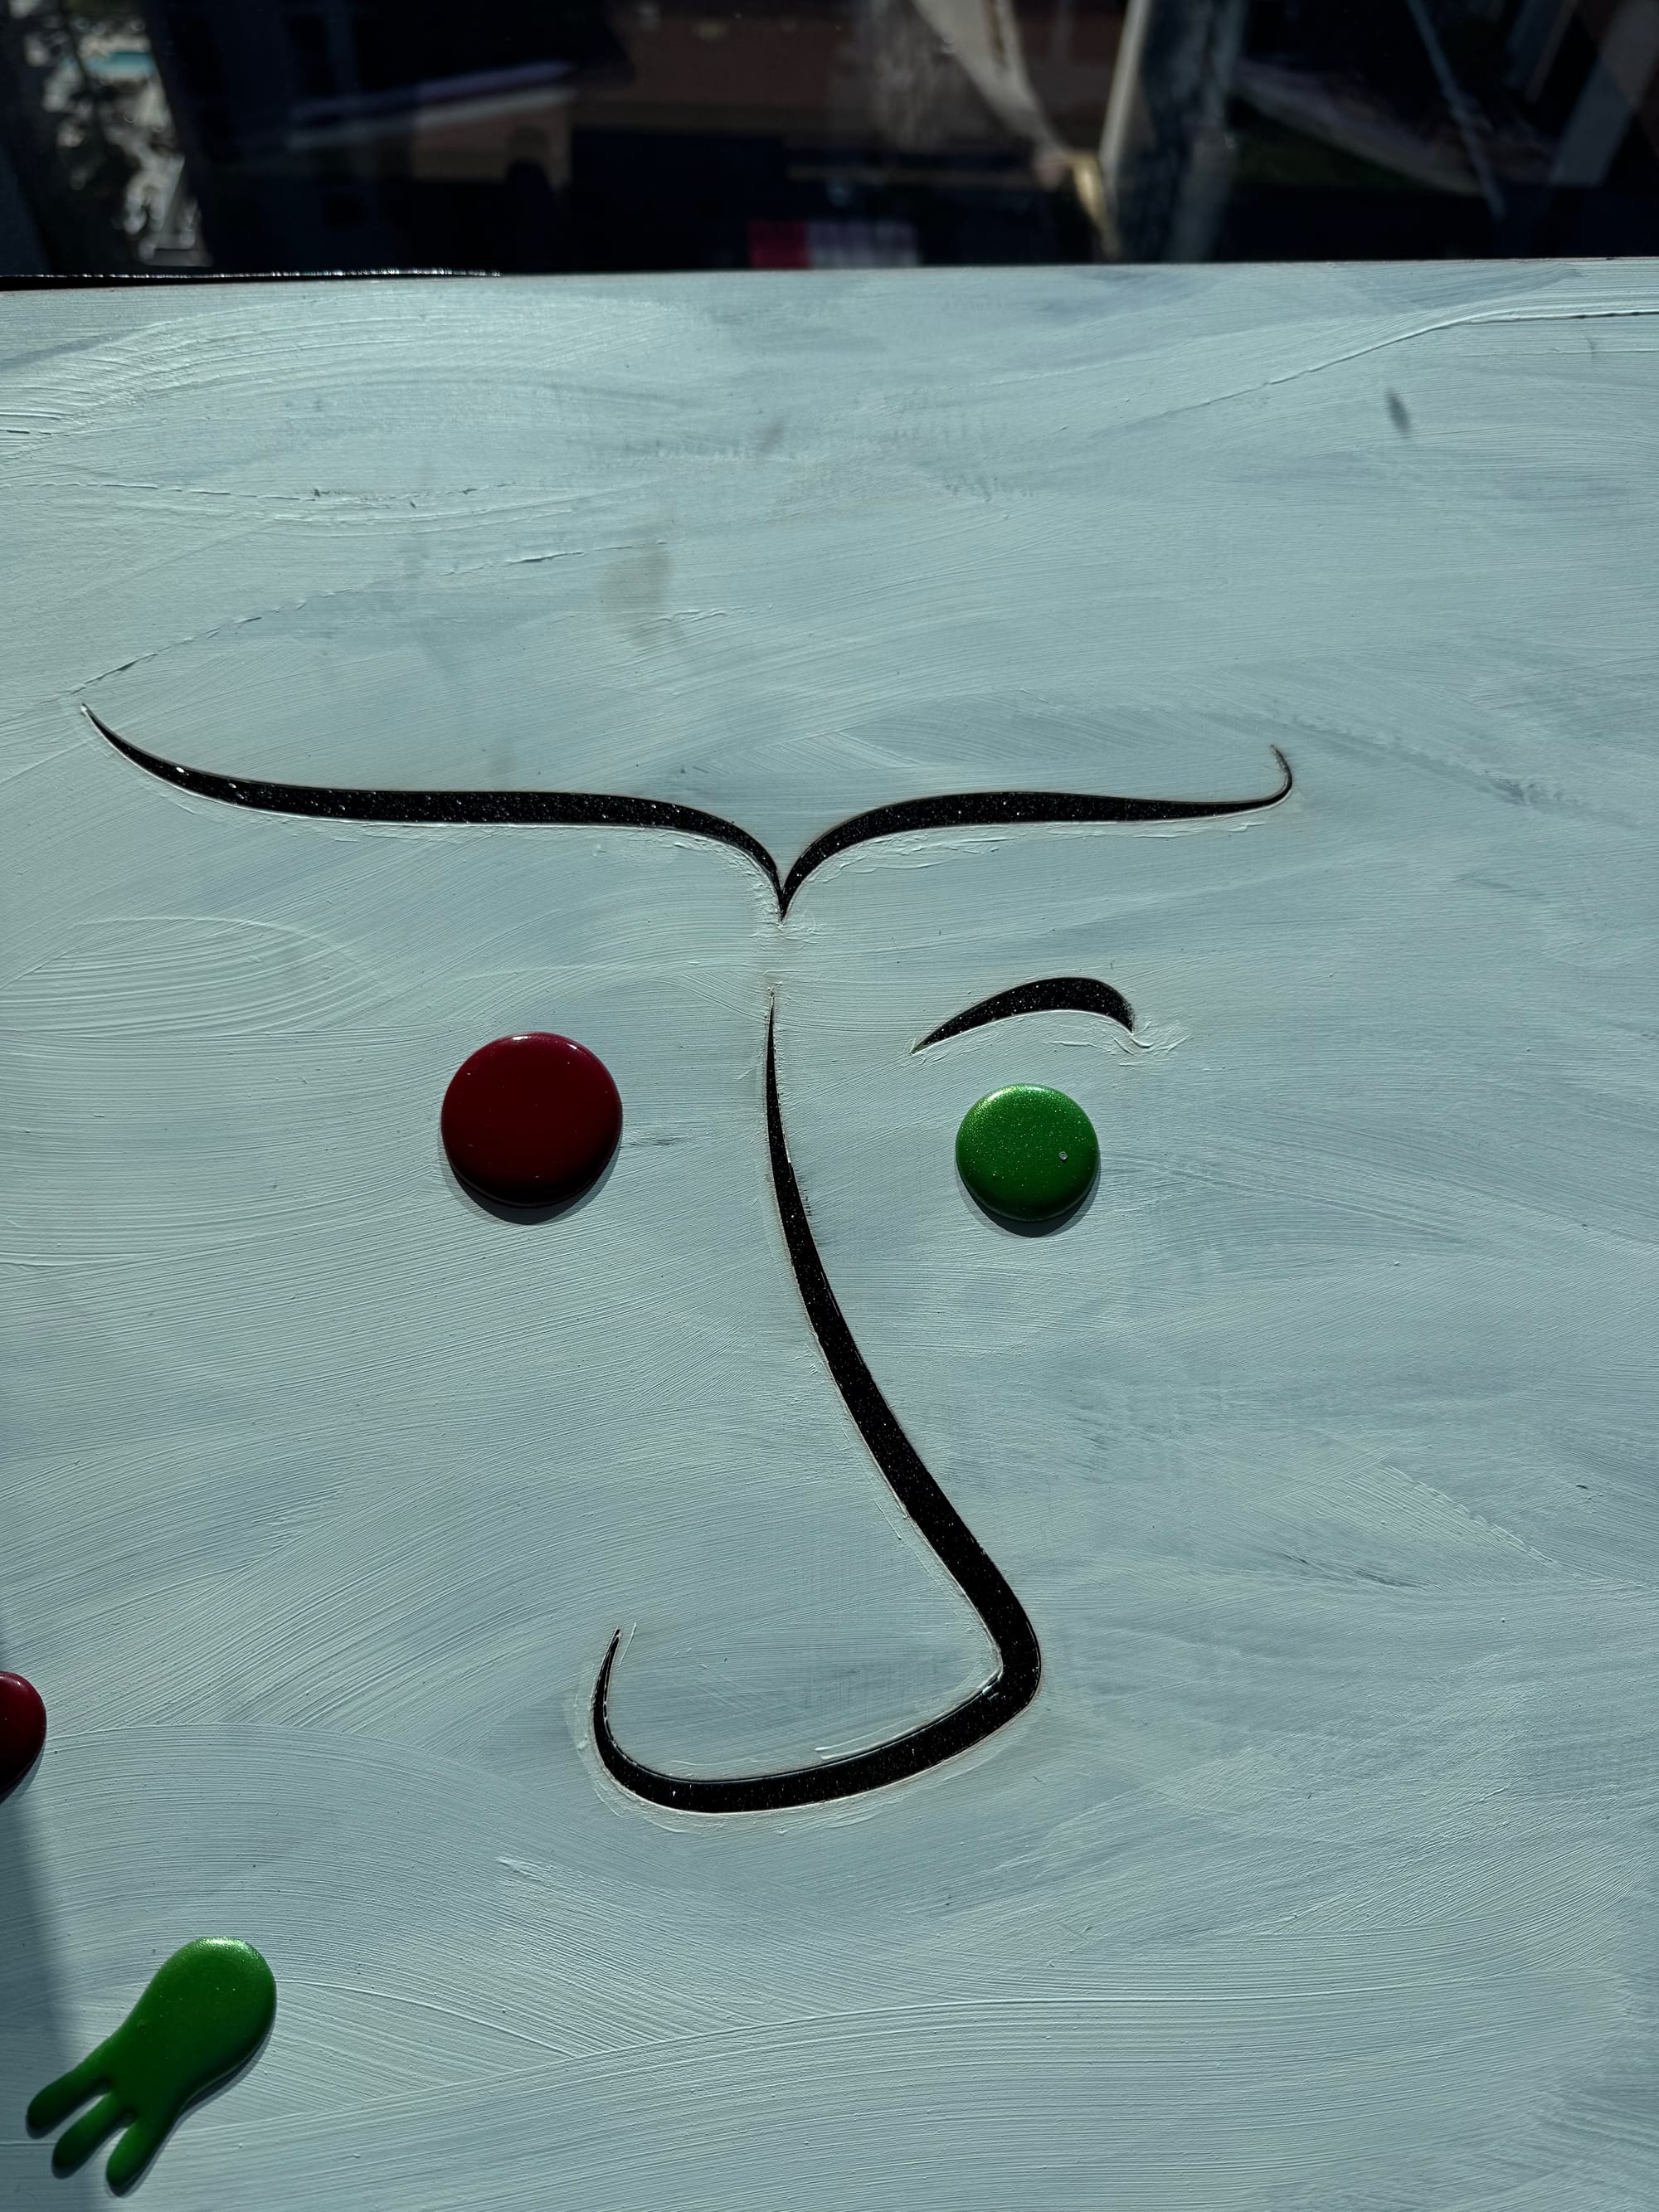
The two options
Next came the rose. The glass rose came from Etsy. The rose needed to look like it was floating in front of the board. To create this effect I got a clear acrylic rod, cut it down to size, and heated one end of it. This softened it enough that I could press it onto the glass rose to match its shape and create a bonding surface. I applied clear drying super glue designed for glass, and glued the rod onto the board.
The final step was glueing the piece onto the frame and hanging it!
At least that's what I thought. I of course hated how it looked on the wall. So I spent another day deliberating on what to do, till I decided to cover the whole background in pure white oil paint, which made it look much nicer.
Then came the signature, etched in knife.
And now, finally, it is complete.
Till Next Time,
John Fitz


2021-2026